1. Access
The Settings → Access panel allows event admins to manage how users log in, who can access content, and how sharing, downloading, and branding work on your microsite. This is your control center for managing event visibility, security, and presentation.Section 01: Attendee Login Mechanism
Determine how attendees will access your event microsite. You can set the login policy depending on whether the event is open to all or restricted to a specific audience.1. Open Login
- Anyone with the microsite link can sign up and log in.
- The user simply enters their email ID, receives an OTP, and gets access immediately.
- Perfect for public or promotional events where you want maximum visibility and reach.
2. Closed Login
- Only pre-approved attendees can log in.
- Admins must upload or maintain a list of allowed users (email IDs) in the backend.
-
Best suited for private, corporate, or invite-only events to maintain content exclusivity.
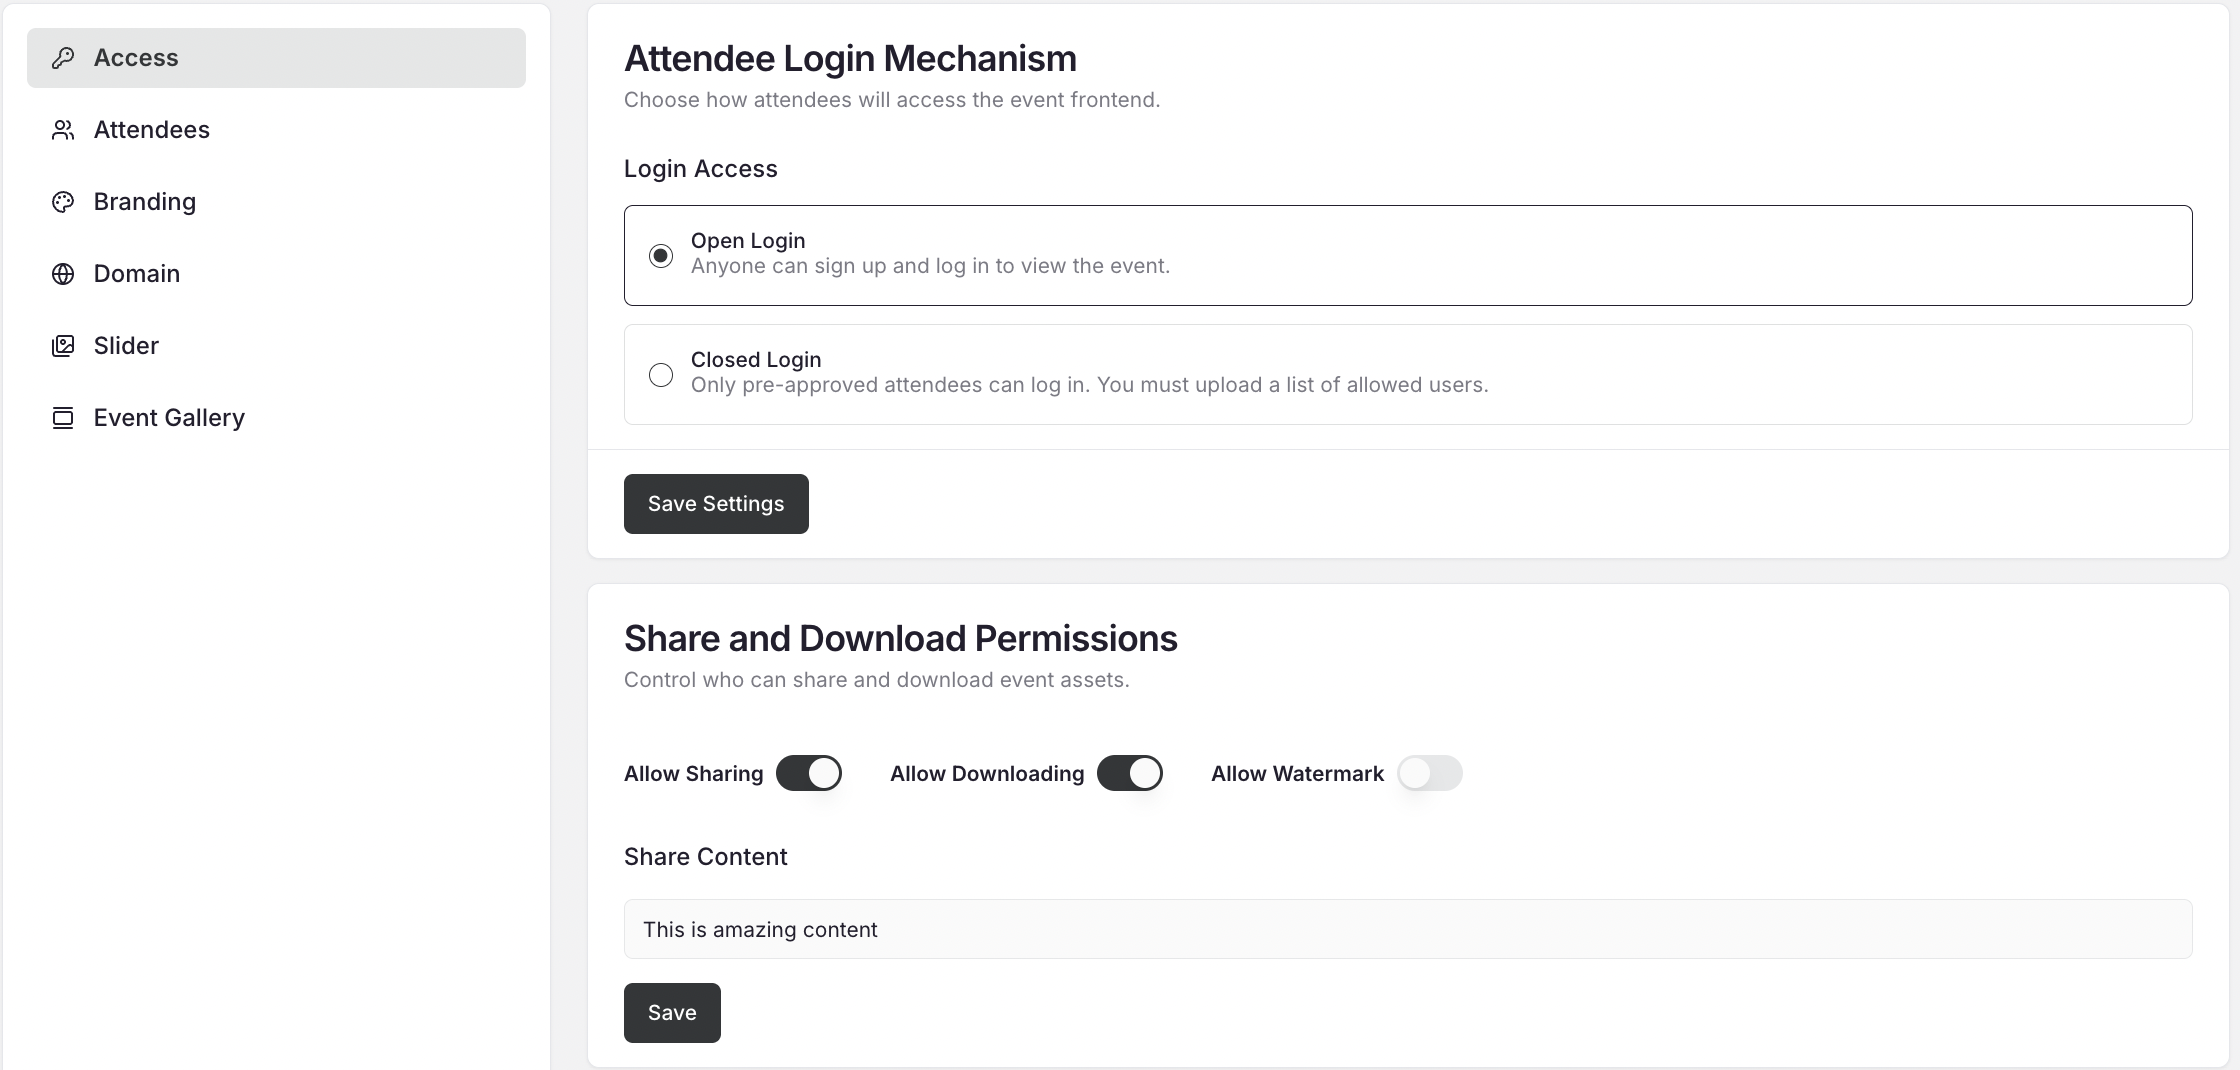
Section 02: Share and Download Permissions
Define what attendees can do with your content. Snippet AI gives full control over sharing, downloading, and watermarking for brand and IP protection.Allow Sharing
- Toggle ON/OFF to control whether attendees can share snippets externally.
- When enabled, the Share button appears on each snippet card.
- When disabled, the share icon is hidden.
Allow Downloading
- Toggle ON/OFF to allow attendees to download snippets.
- When turned off, the Download icon will be disabled across all snippets.
Allow Watermark
- Toggle ON/OFF to brand your snippets with a watermark image.
- When enabled, Snippet AI will ask you to upload your watermark file (PNG/JPG) — typically your event or brand logo.
- This watermark will automatically appear in the background of every snippet generated after activation.
- The watermark must be enabled before snippet generation.
- If you activate watermarking after snippets are generated, you must regenerate snippets for the watermark to appear.
Share Content (Predefined Text Field)
- When Allow Sharing is enabled, this field activates.
-
You can enter a short predefined message that appears automatically when users share snippets via WhatsApp or other platforms.
Example:
“Check out this amazing moment from [Your Event Name] — powered by Snippet AI! ”
Section 03: Attendees
This tab displays a list of all users who have logged into the microsite to view event content. Admins can view attendee names, email addresses, and their last login activity.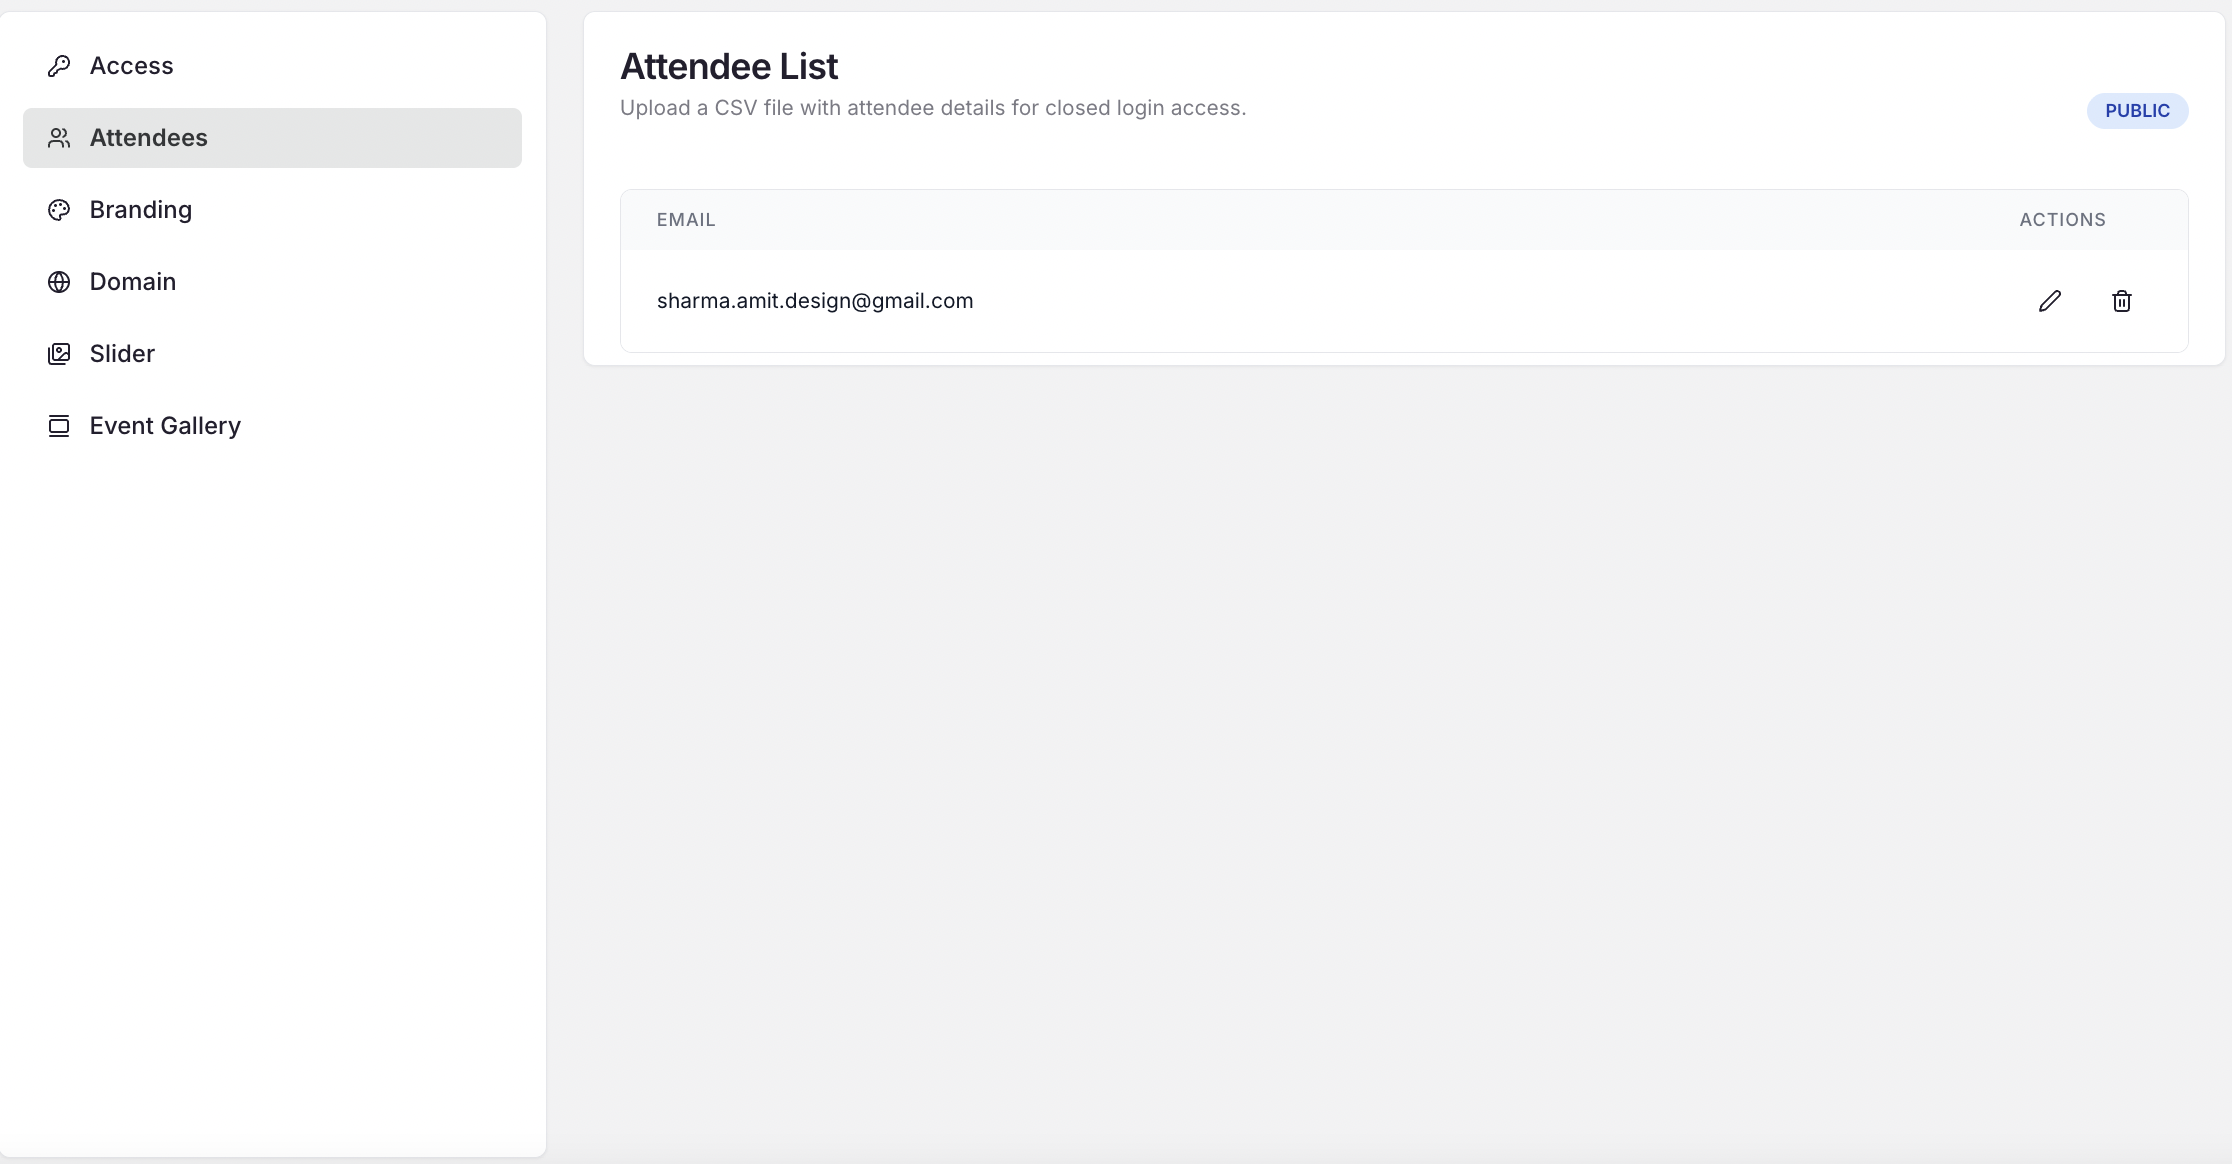
Section 04: Branding
Customize the look and feel of your event microsite to reflect your brand identity.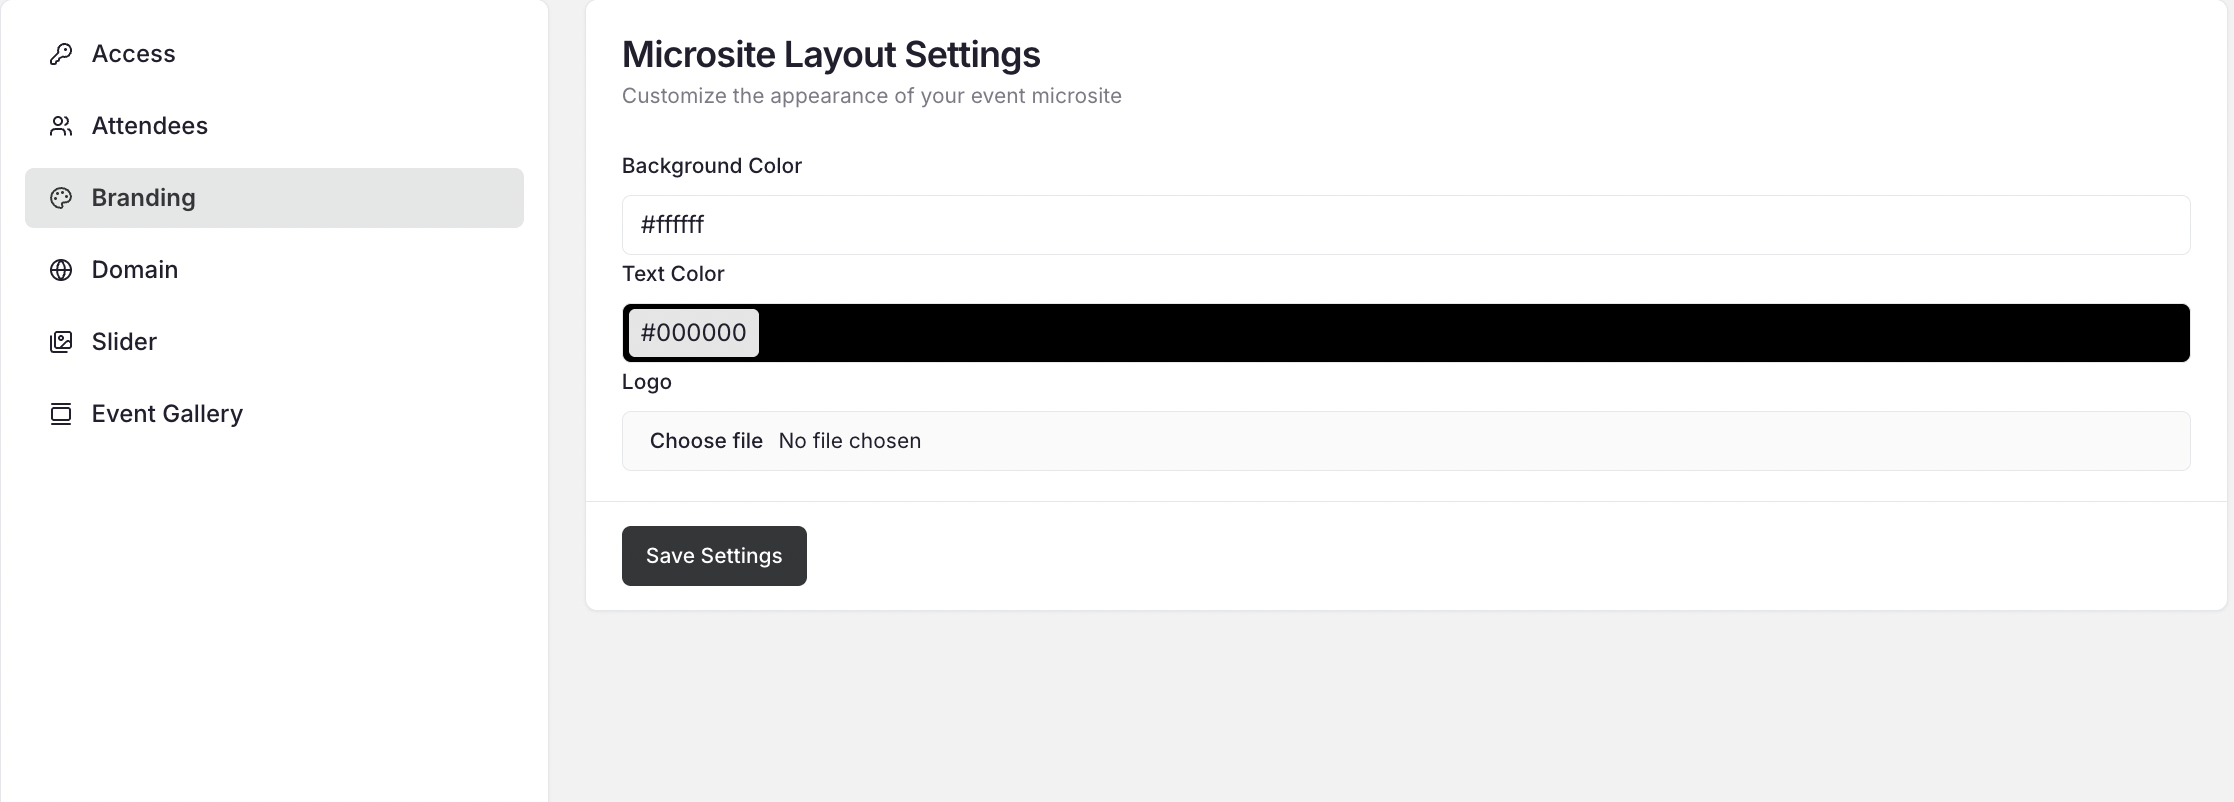
Branding Options:
-
Background Color:
Choose a background color (e.g.,
#4658A7) that matches your event theme. This color appears on the login page and the header section of your microsite. - Logo: Upload your event or organization logo. If uploaded, it will display on the login screen and header of the microsite. If not uploaded, the event name will appear instead.
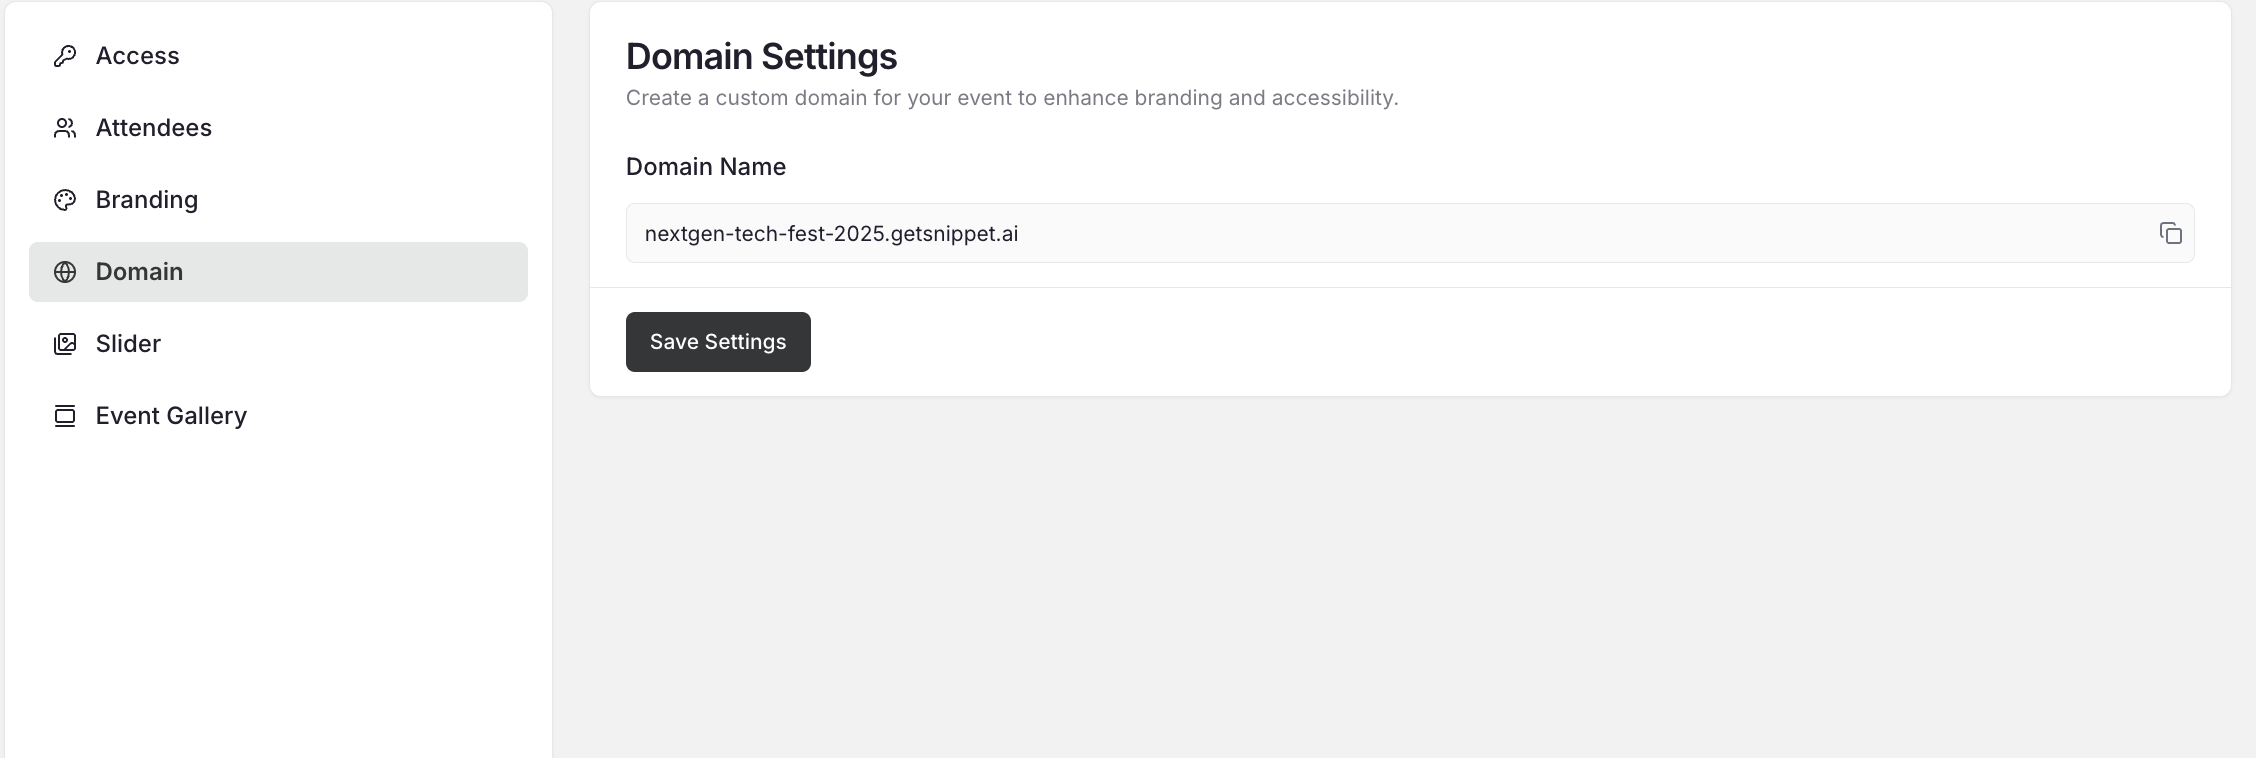
Section 05: Domain
Each microsite can be mapped to a custom domain for a seamless branded experience. Example: Instead of
yourbrand.getsnippet.ai
you can use
events.yourbrand.com
To Configure:
- Enter your custom domain URL in the input field.
- Click Save.
- Update your DNS settings as instructed (if required).
Section 06: Assets
All the visuals and images generated by Snippet AI are collected here automatically. You can review, select, and manage what appears on your event microsite’s slider and gallery. Tabs under Assets: 1. Slider- Contains all AI-extracted images ideal for your event slider.
- Select which images you want to display on the homepage slider.
- Includes all visuals suitable for the event’s image gallery section.
- Curate which images to showcase in the bottom section of your microsite.
- Screenshot: Slider and Gallery tabs with image thumbnails.
- GIF: Selecting and previewing gallery visuals.
With these settings, you can personalize both the security and presentation of your event — making every microsite secure, professional, and on-brand.