Event → Days → Tracks → Sessions → Speakers → Upload → AI Processing
1. Create an Event
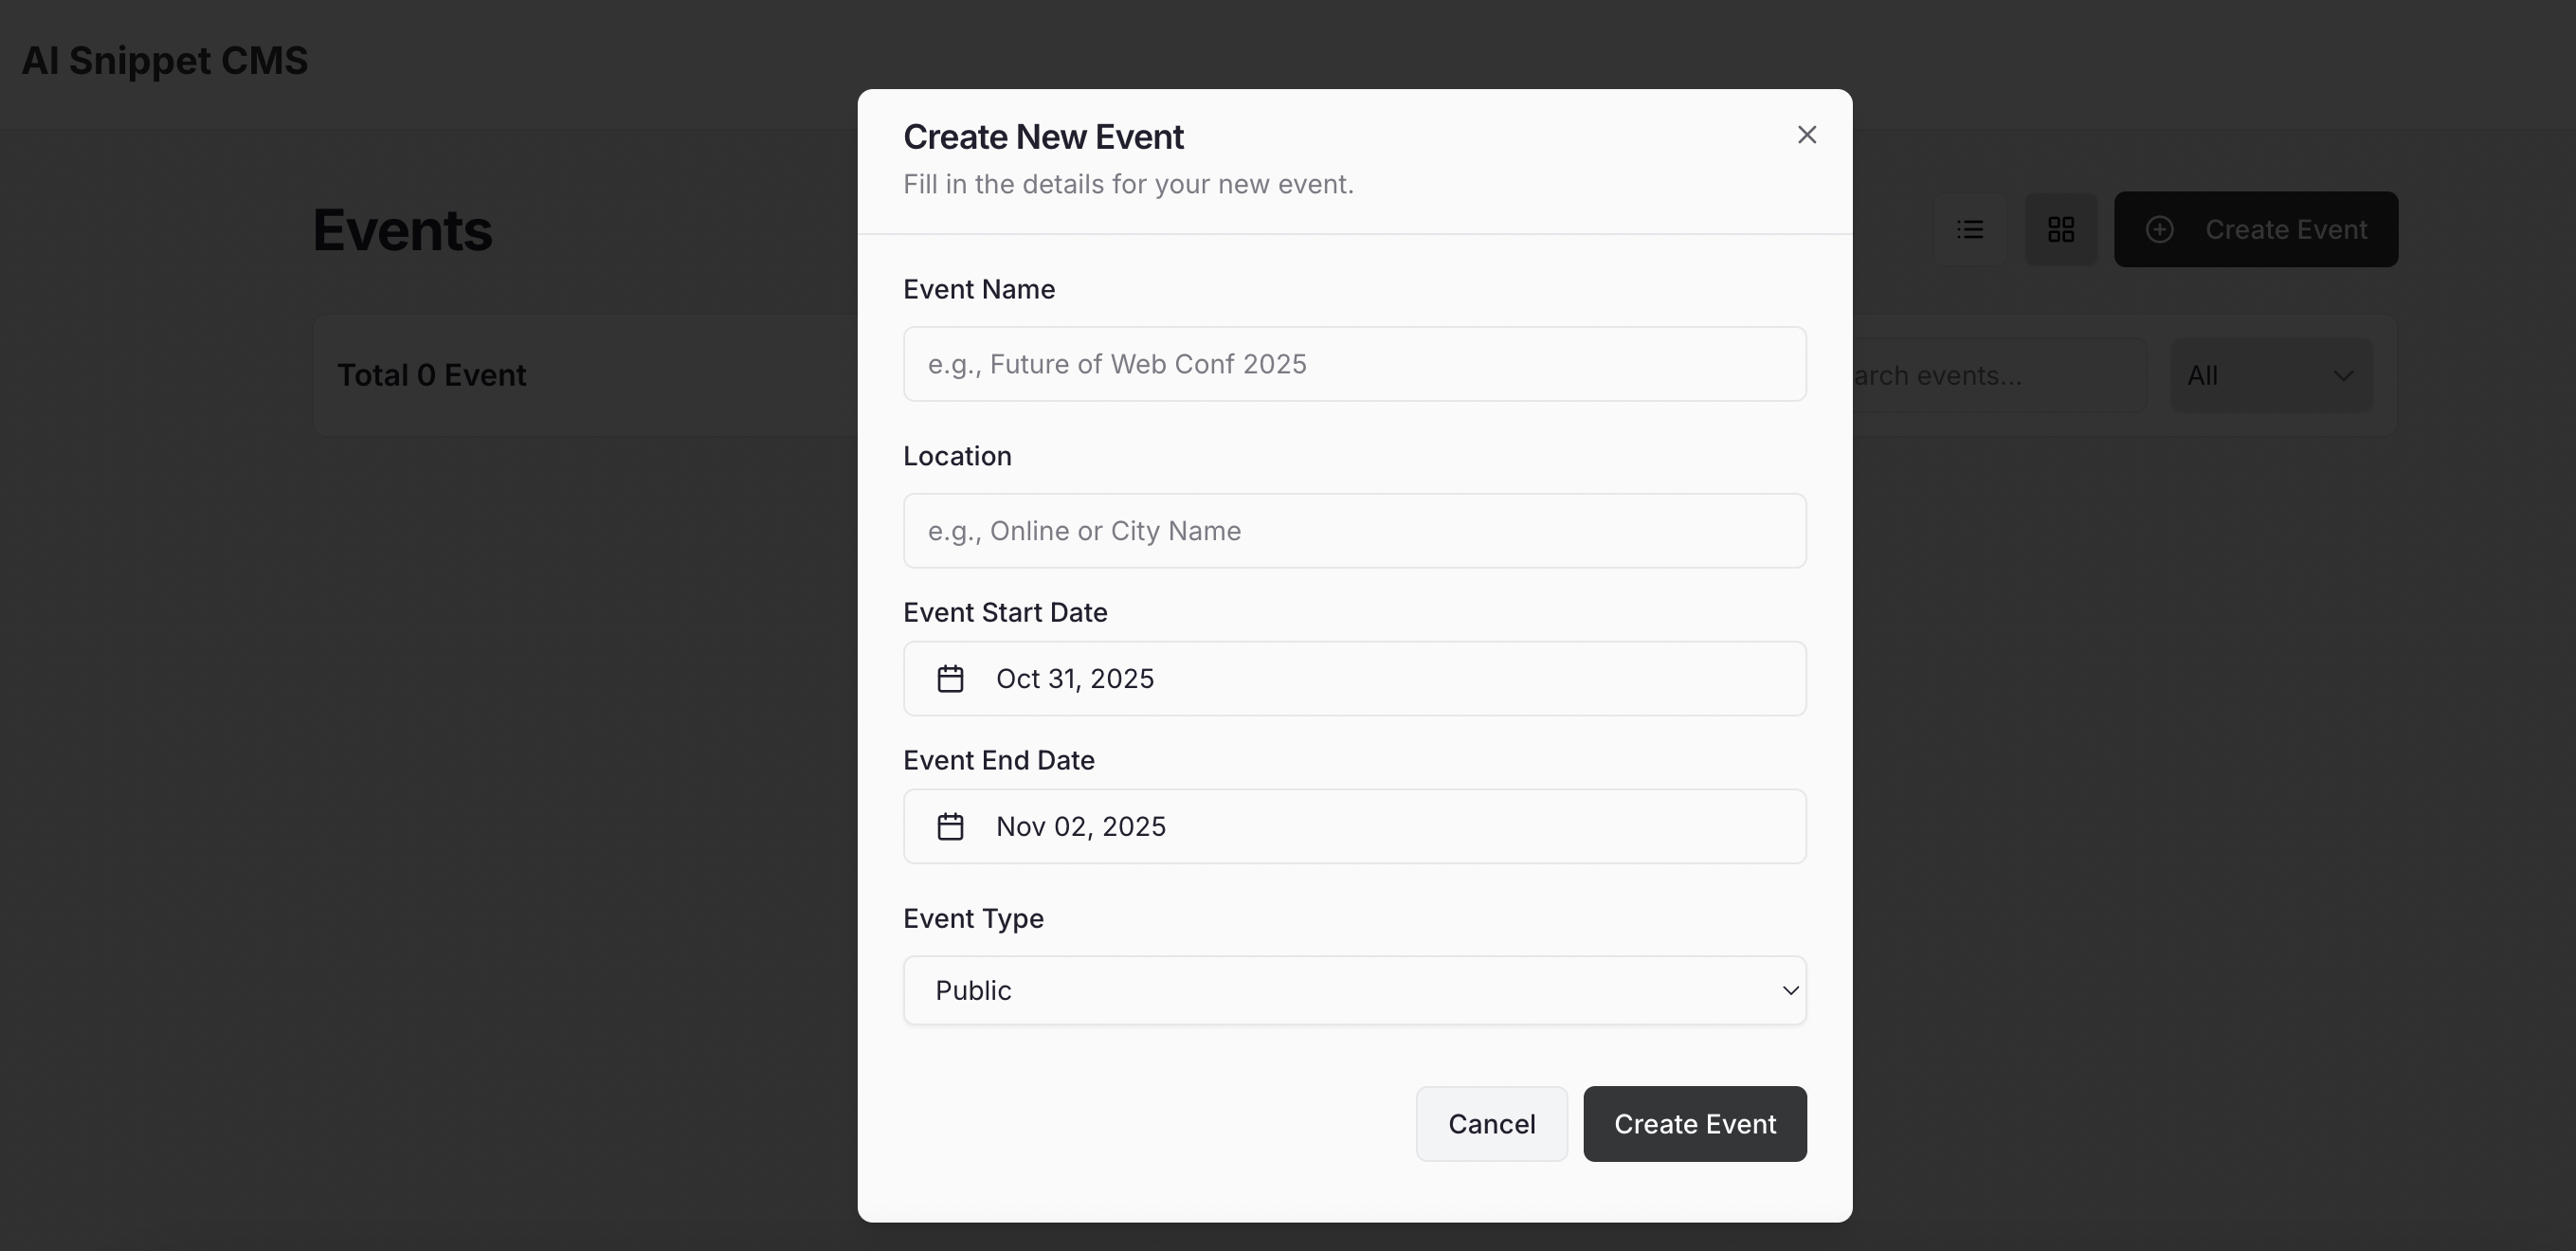
To start, click on the “+ Create Event” button from your dashboard.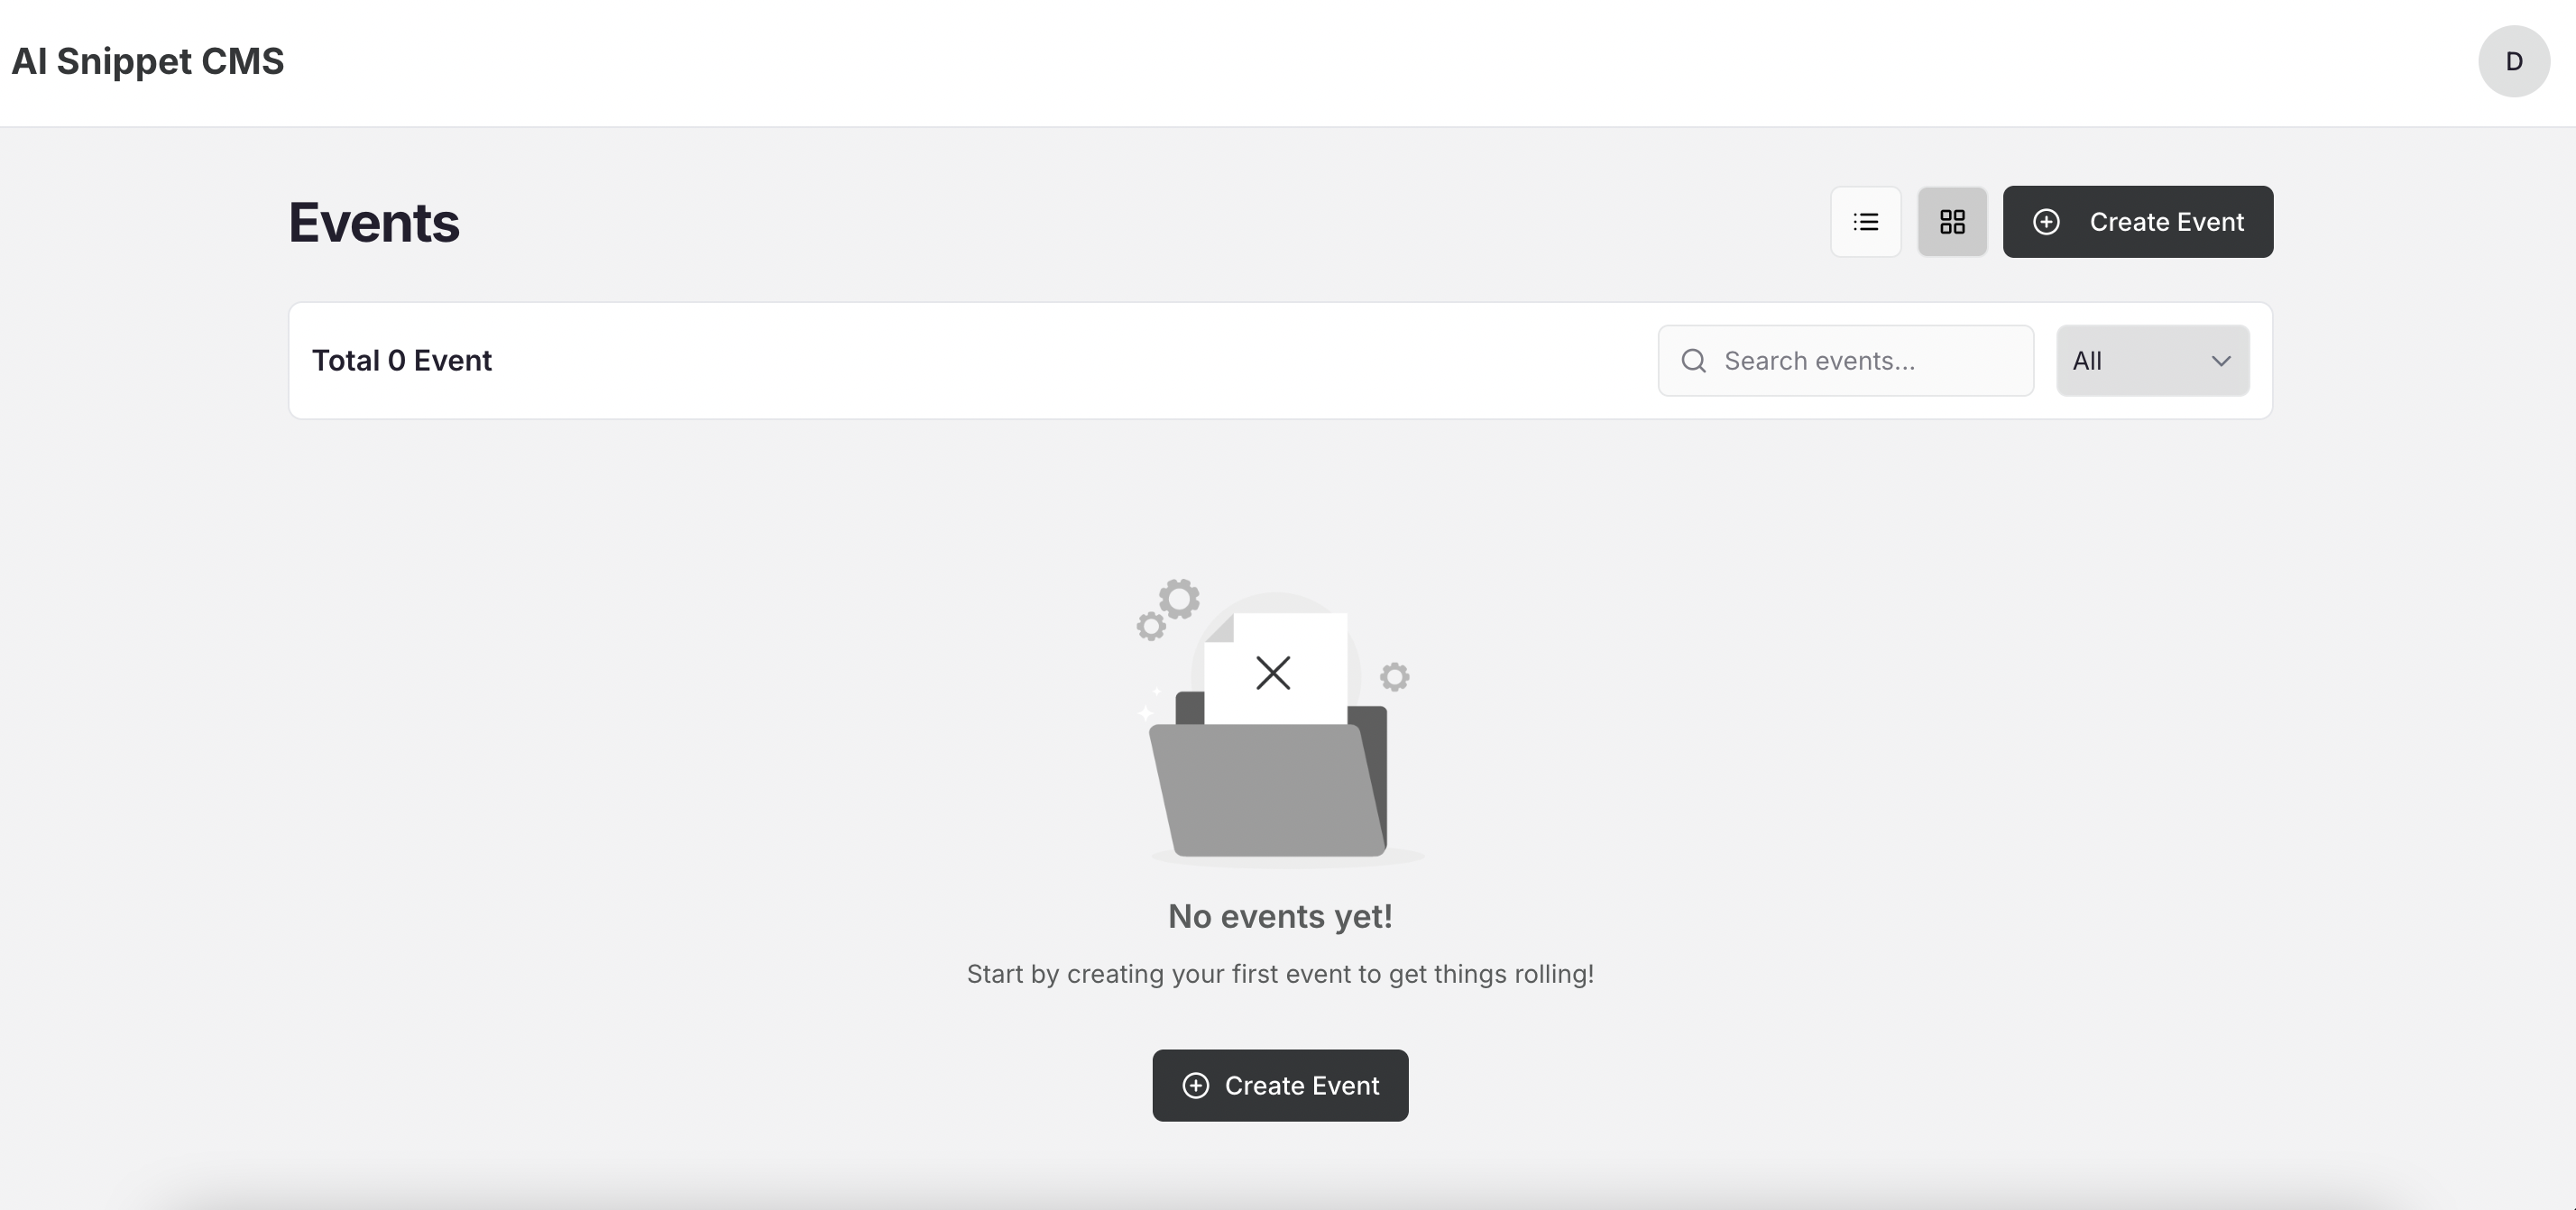
- Event Name – Give your event a clear, recognizable name.
- Location – Add the venue or city name.
- Event Start Date – The date when the event begins.
- Event End Date – The date when the event concludes.
- Event Type – Choose between:
- 🟢 Public Event – Anyone can access the content by verifying with their email (no admin approval needed).
- 🔒 Private Event – Only users added manually by the admin can access the content.
2. Manage Event Days
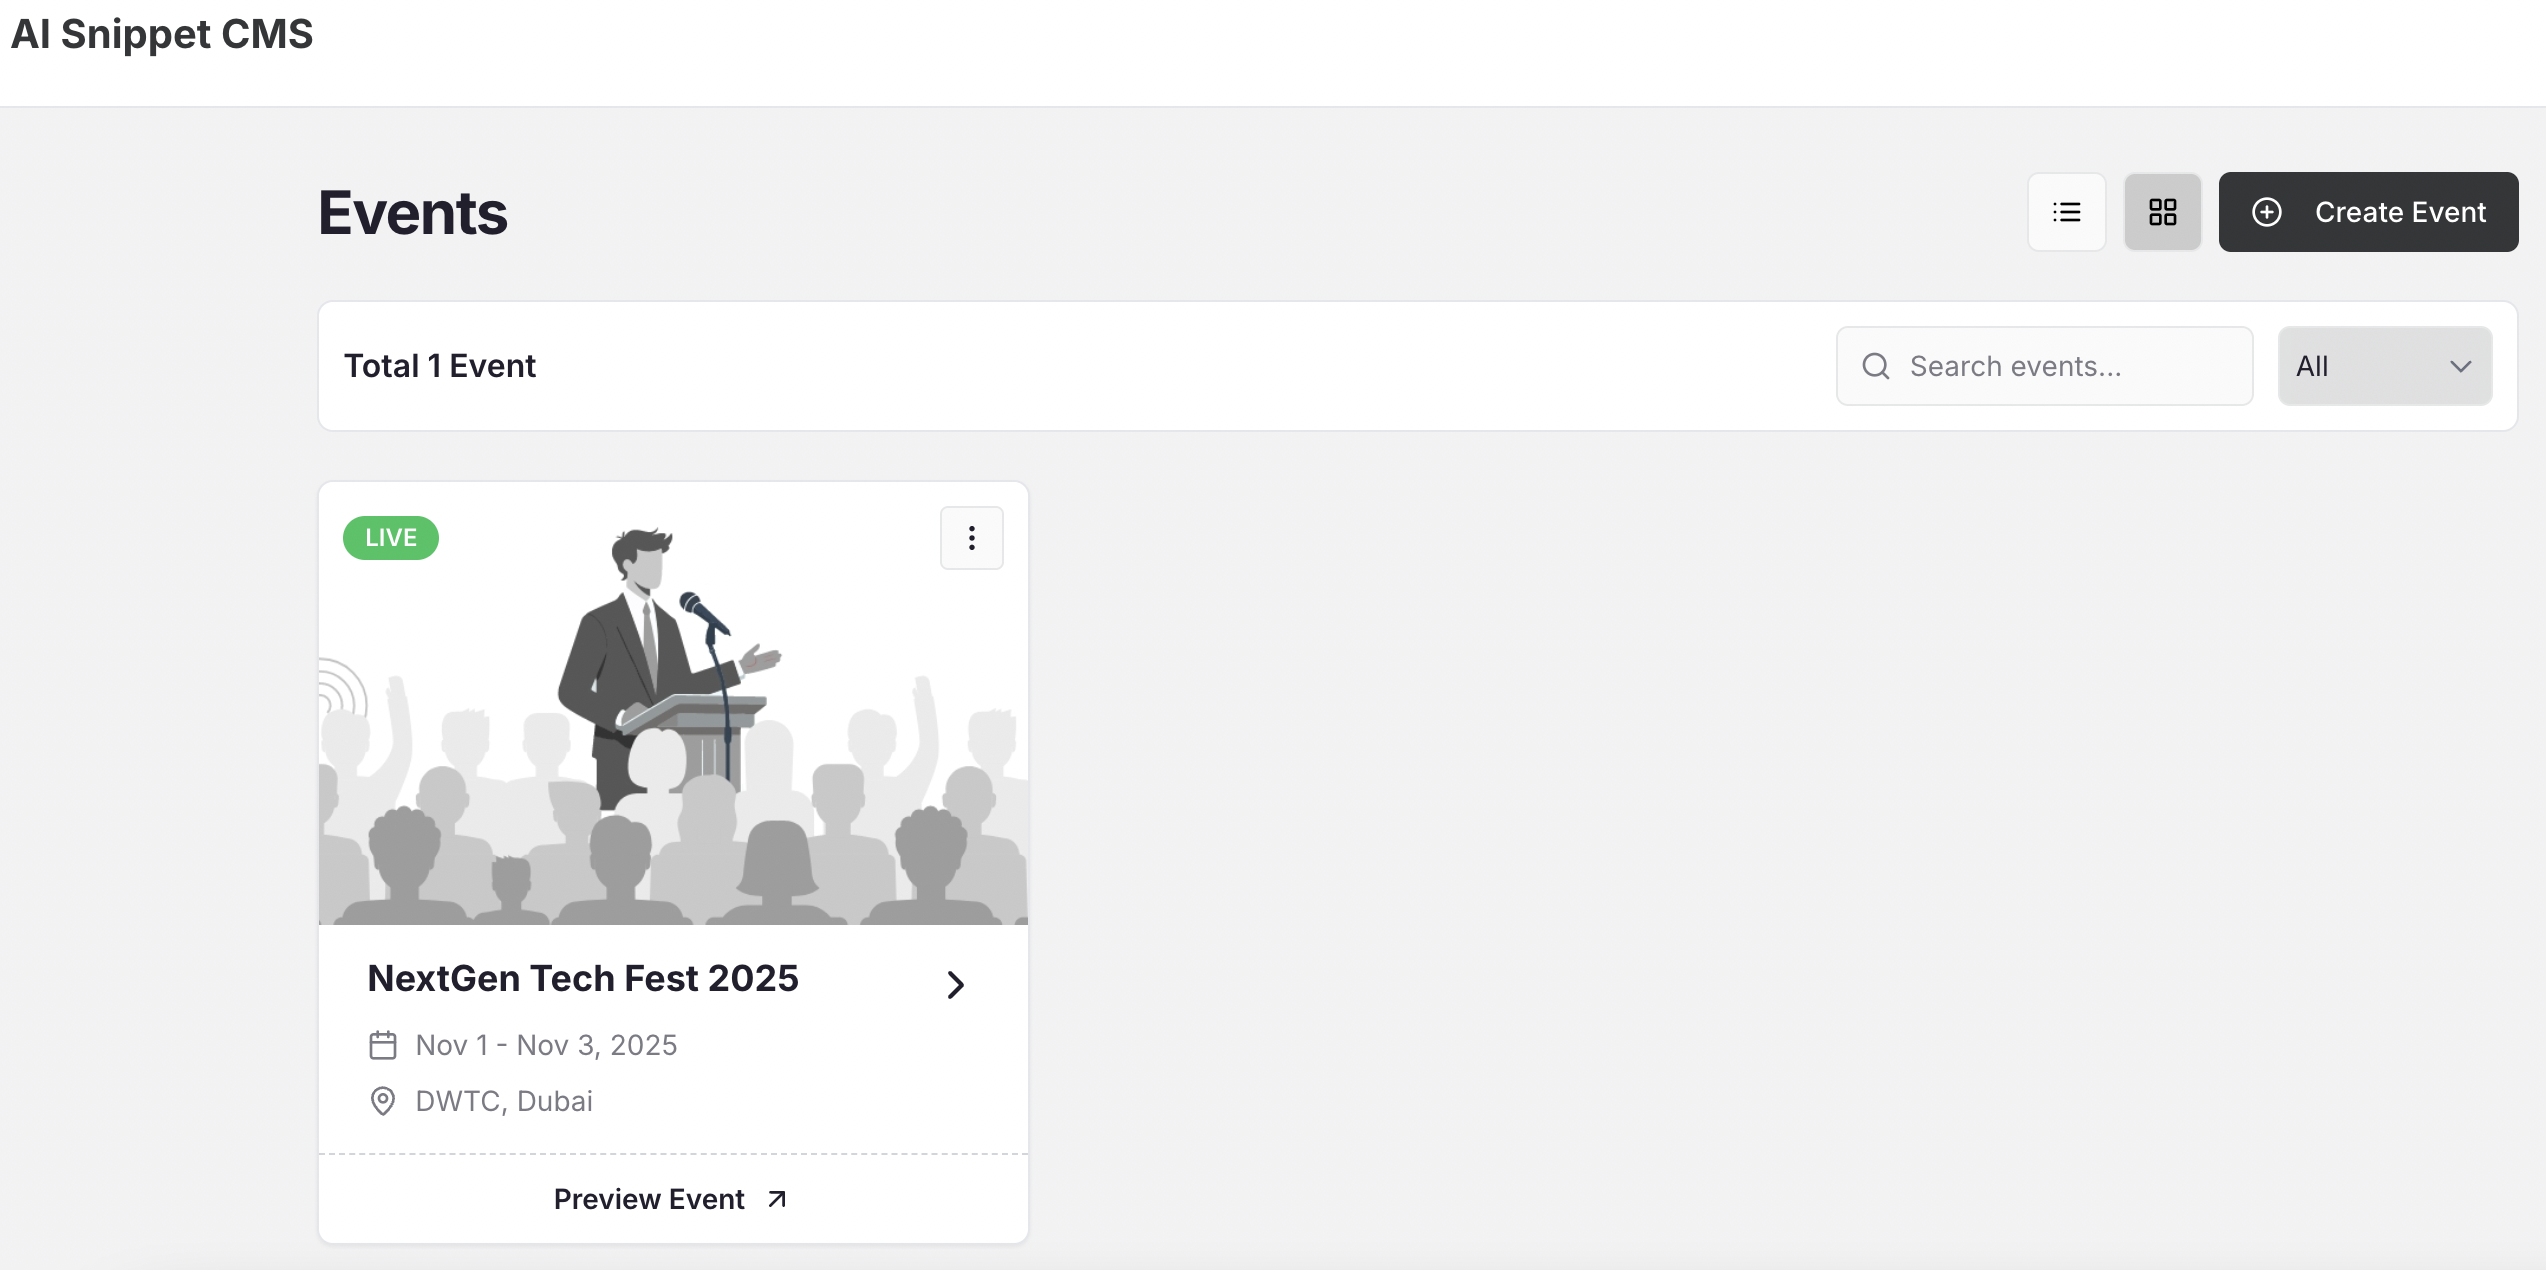
As soon as you create your event, Snippet AI automatically calculates how many days your event spans and generates those days inside your event dashboard. For example:- If your event runs from Nov 1 – Nov 3, Snippet AI will automatically create Day 1 (Nov 1), Day 2 (Nov 2), and Day 3 (Nov 3).
- 🟢 Add a Day: Click “+ Add Day” if your event extends or has an additional activity day.
- ✏️ Edit a Day: Rename or update day details if the schedule changes.
- ❌ Delete a Day: Remove any extra or unused day tabs.
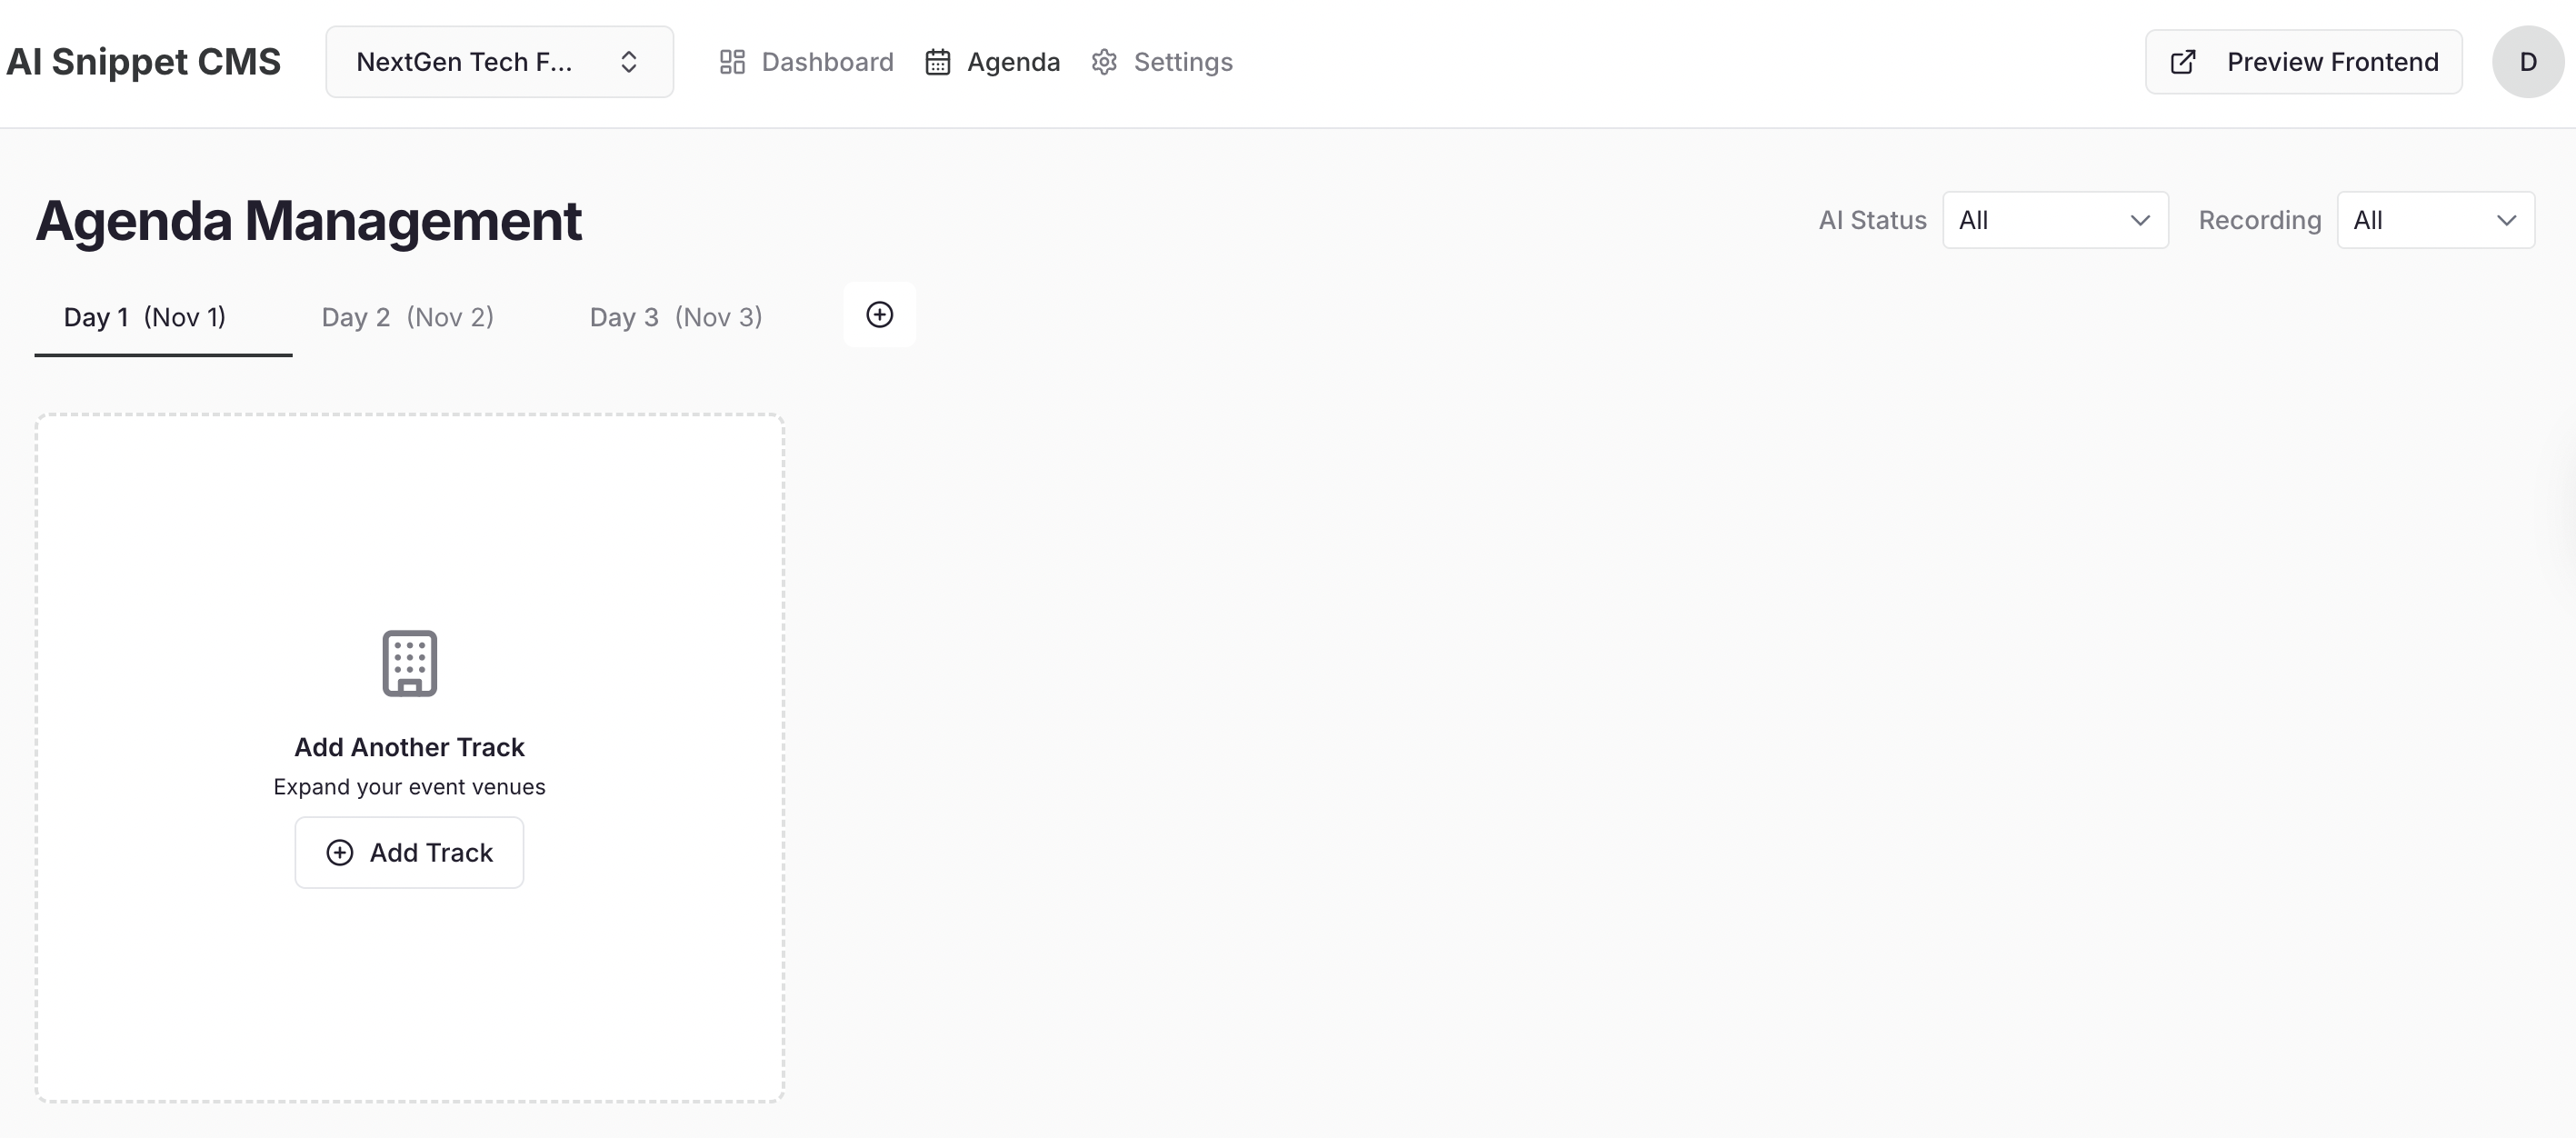
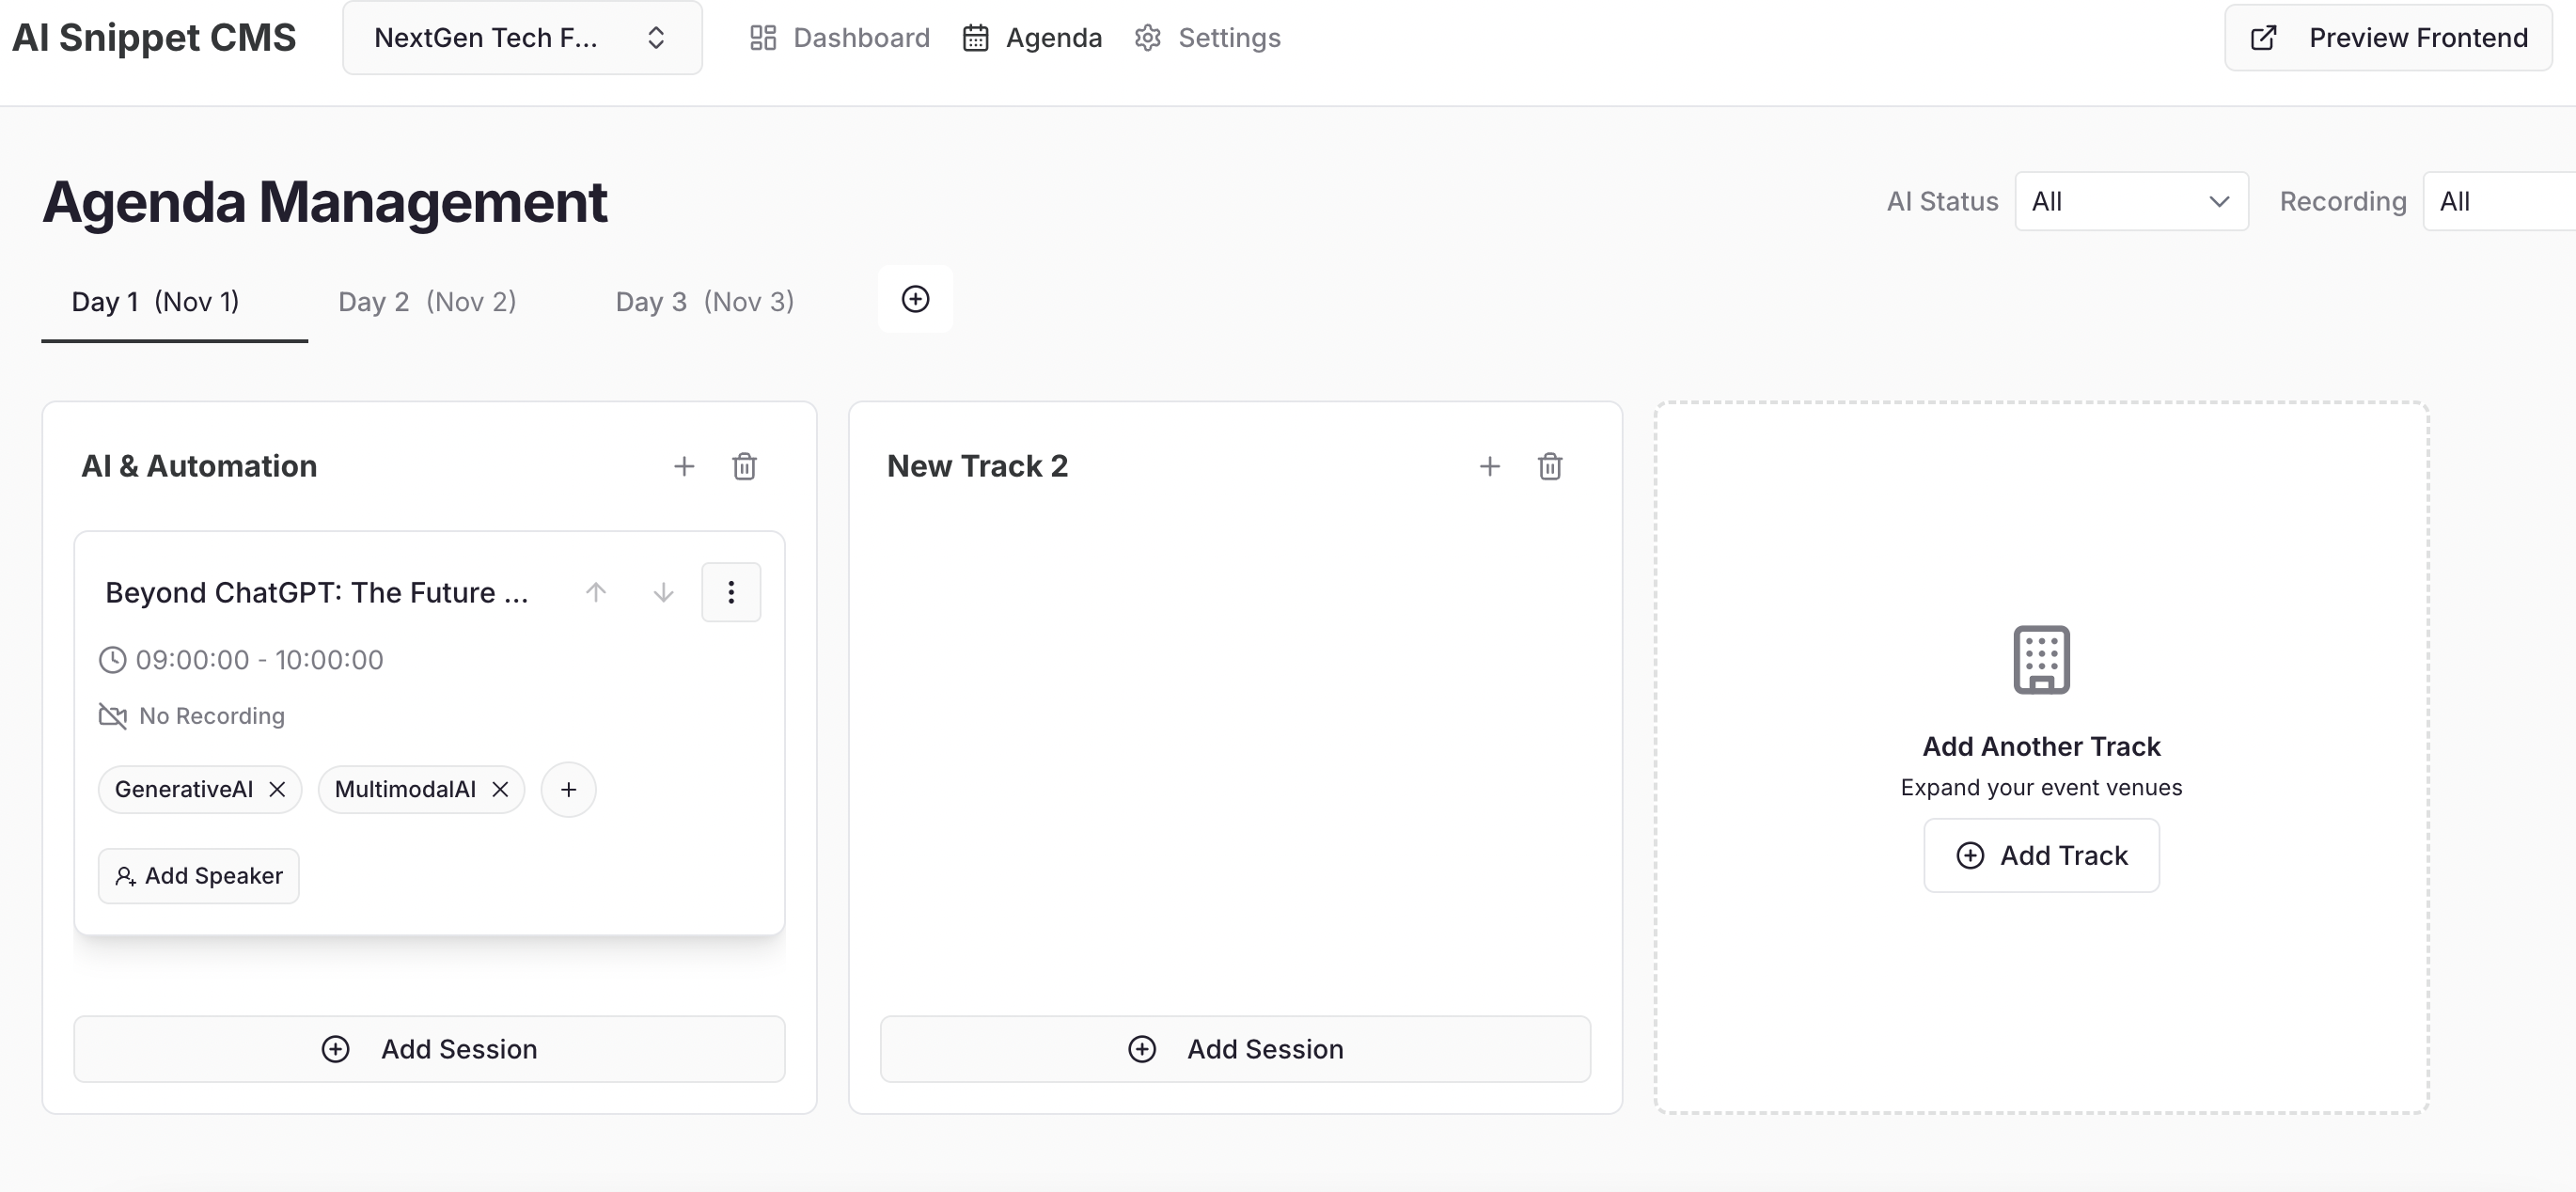
3. Add Tracks
Tracks help you organize sessions under broader themes or categories (like “Main Stage,” “Tech Pavilion,” or “Investor Talks”). Click inside a Day, then select “Add Track.”- Track Name – e.g., “AI & Innovation,” “Startup Stories.”
- Add as many tracks as your event needs.
- If your event doesn’t have separate tracks, Snippet AI automatically creates a default track for you.
- Click on Track Name to edit the name and hit enter to save
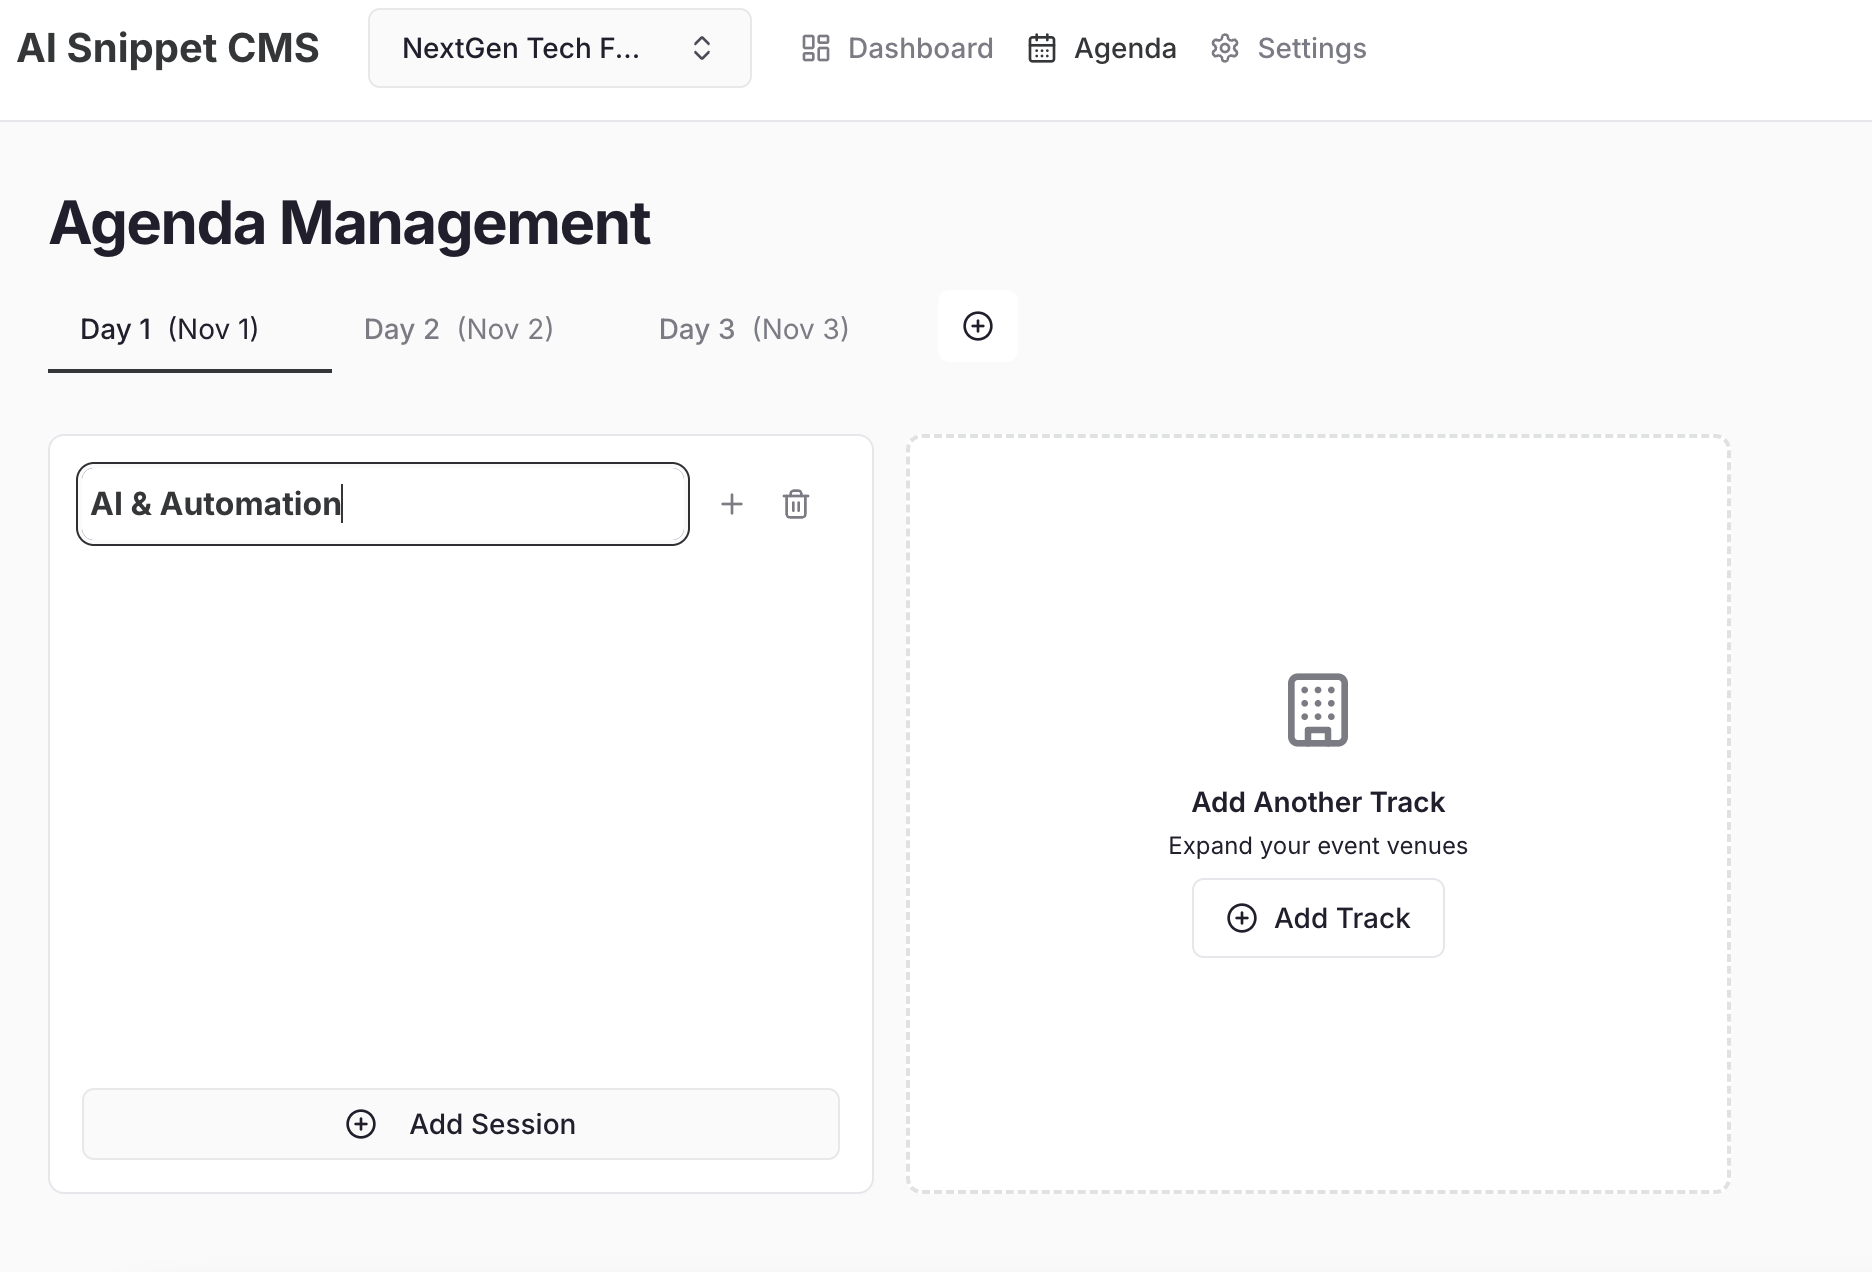
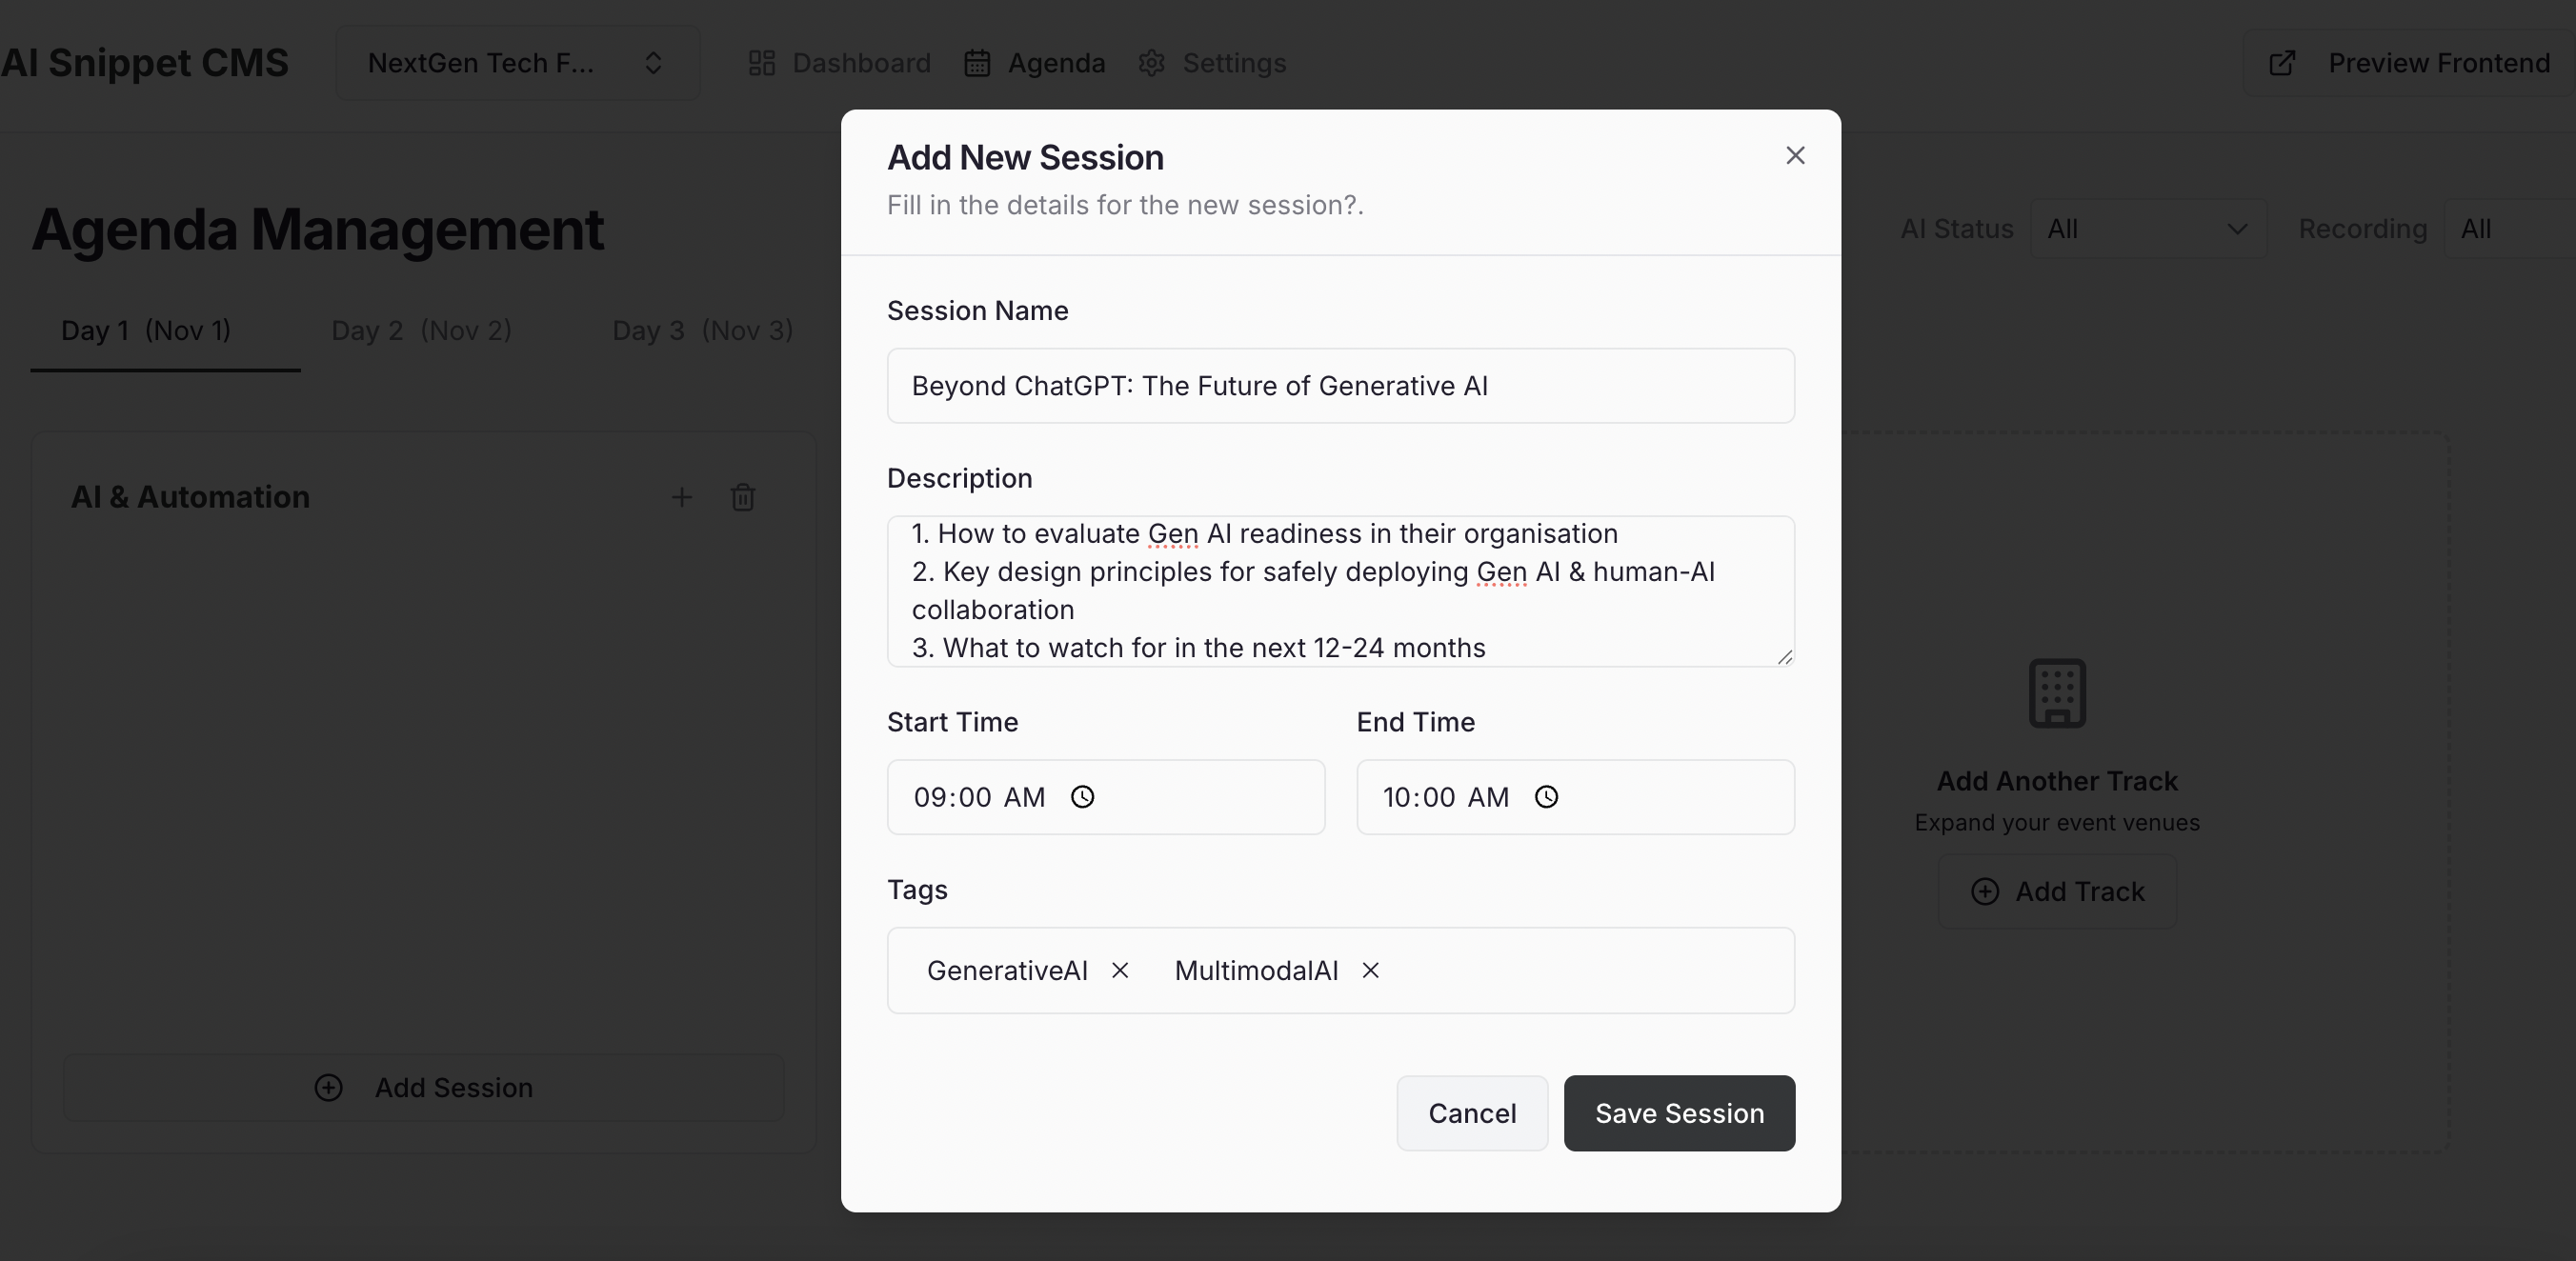
4. Add Sessions
Now that your tracks are set, it’s time to add individual sessions. Within a track, click “Add Session.” Fill in:- Session Name – e.g., “Beyond ChatGPT: The Future of Generative AI.”
- Description – Briefly describe what the session covers.
- Start & End Time – Helps structure the event schedule.
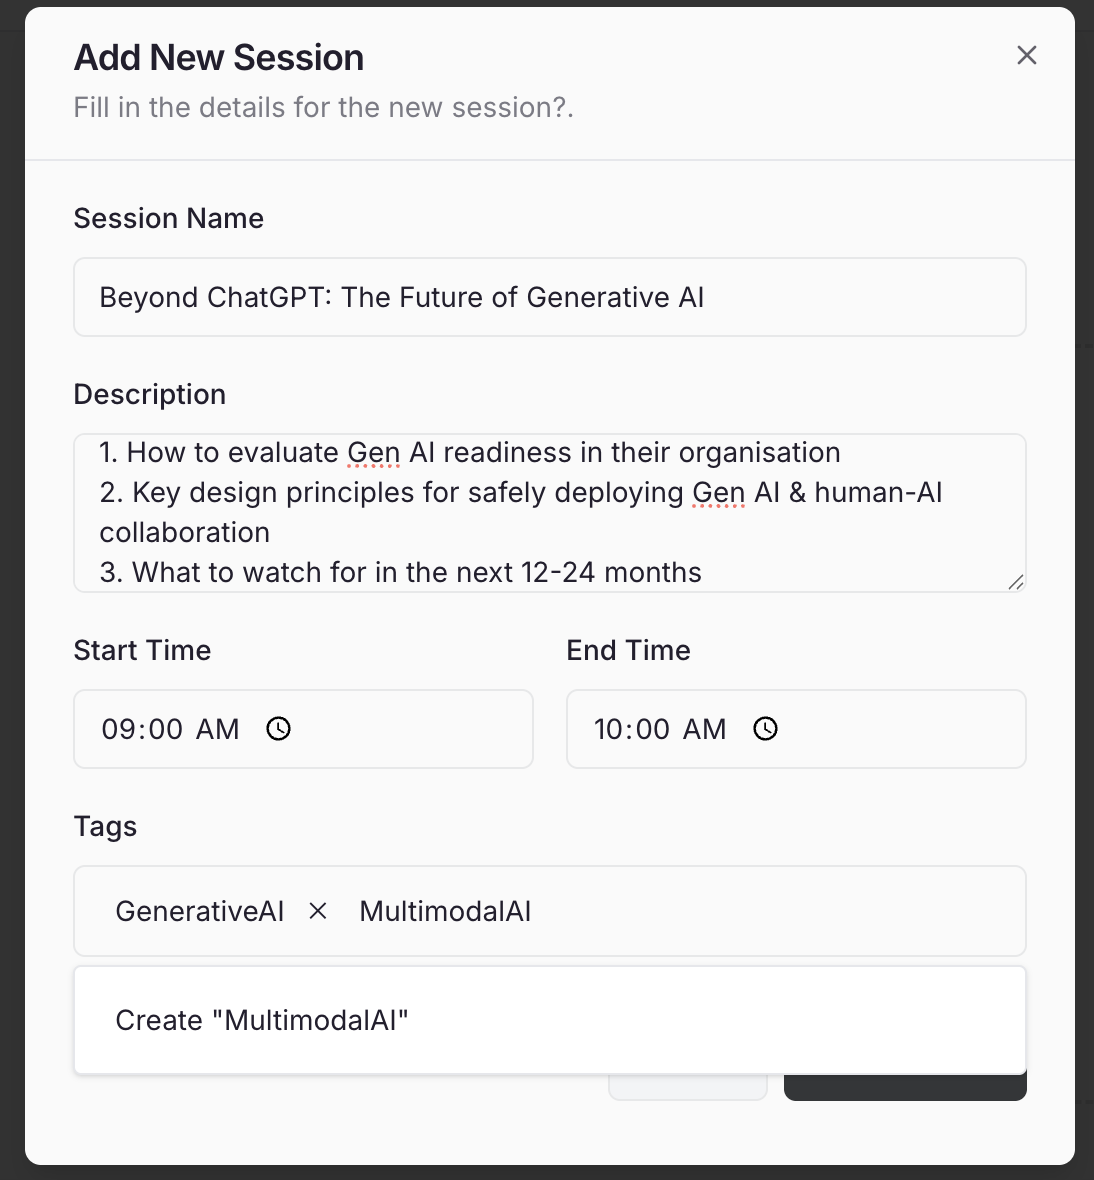
- Tags – Add topic or industry keywords (e.g., #AI, #Fintech, #Sustainability).
5: Map Speakers
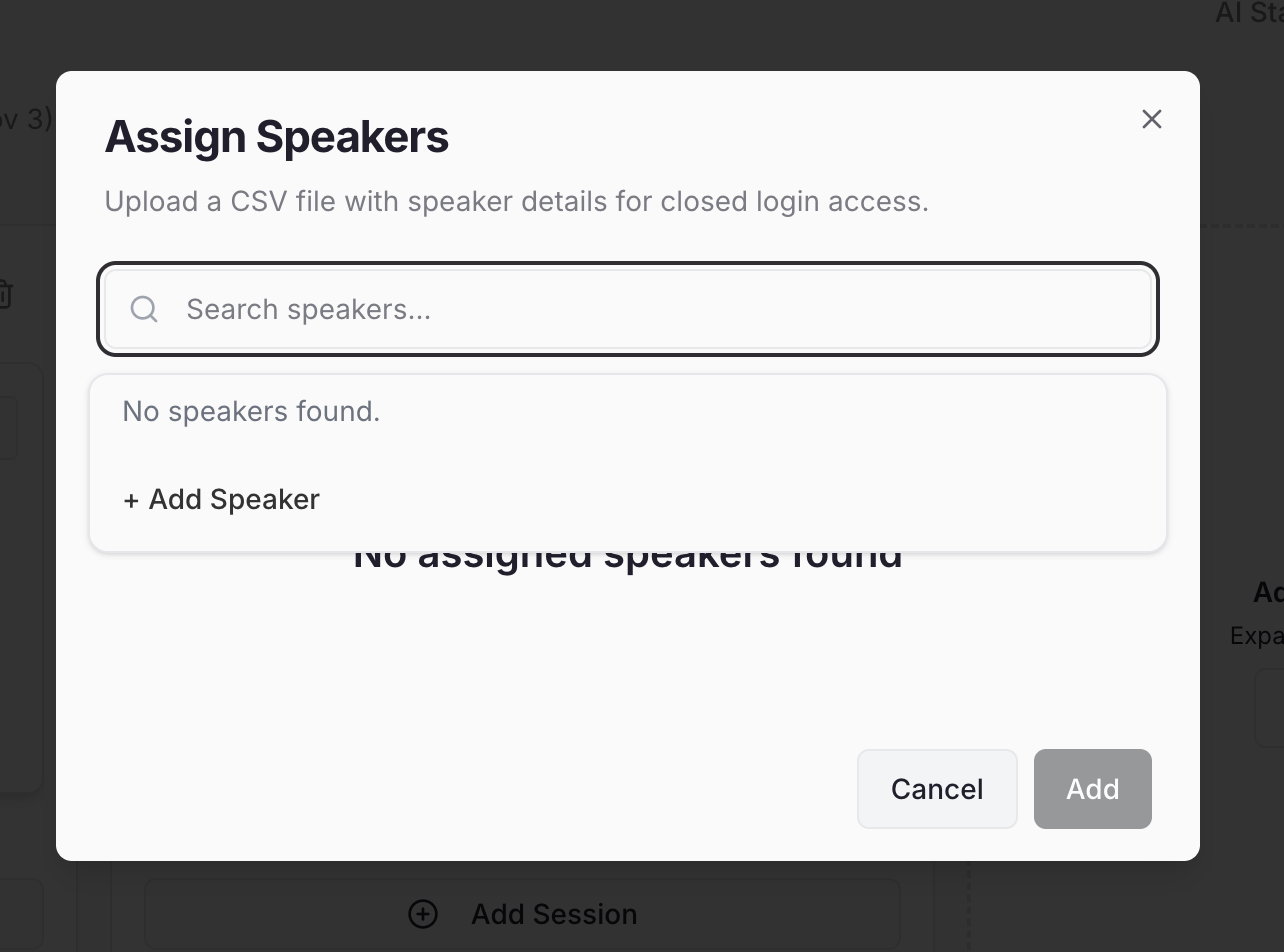
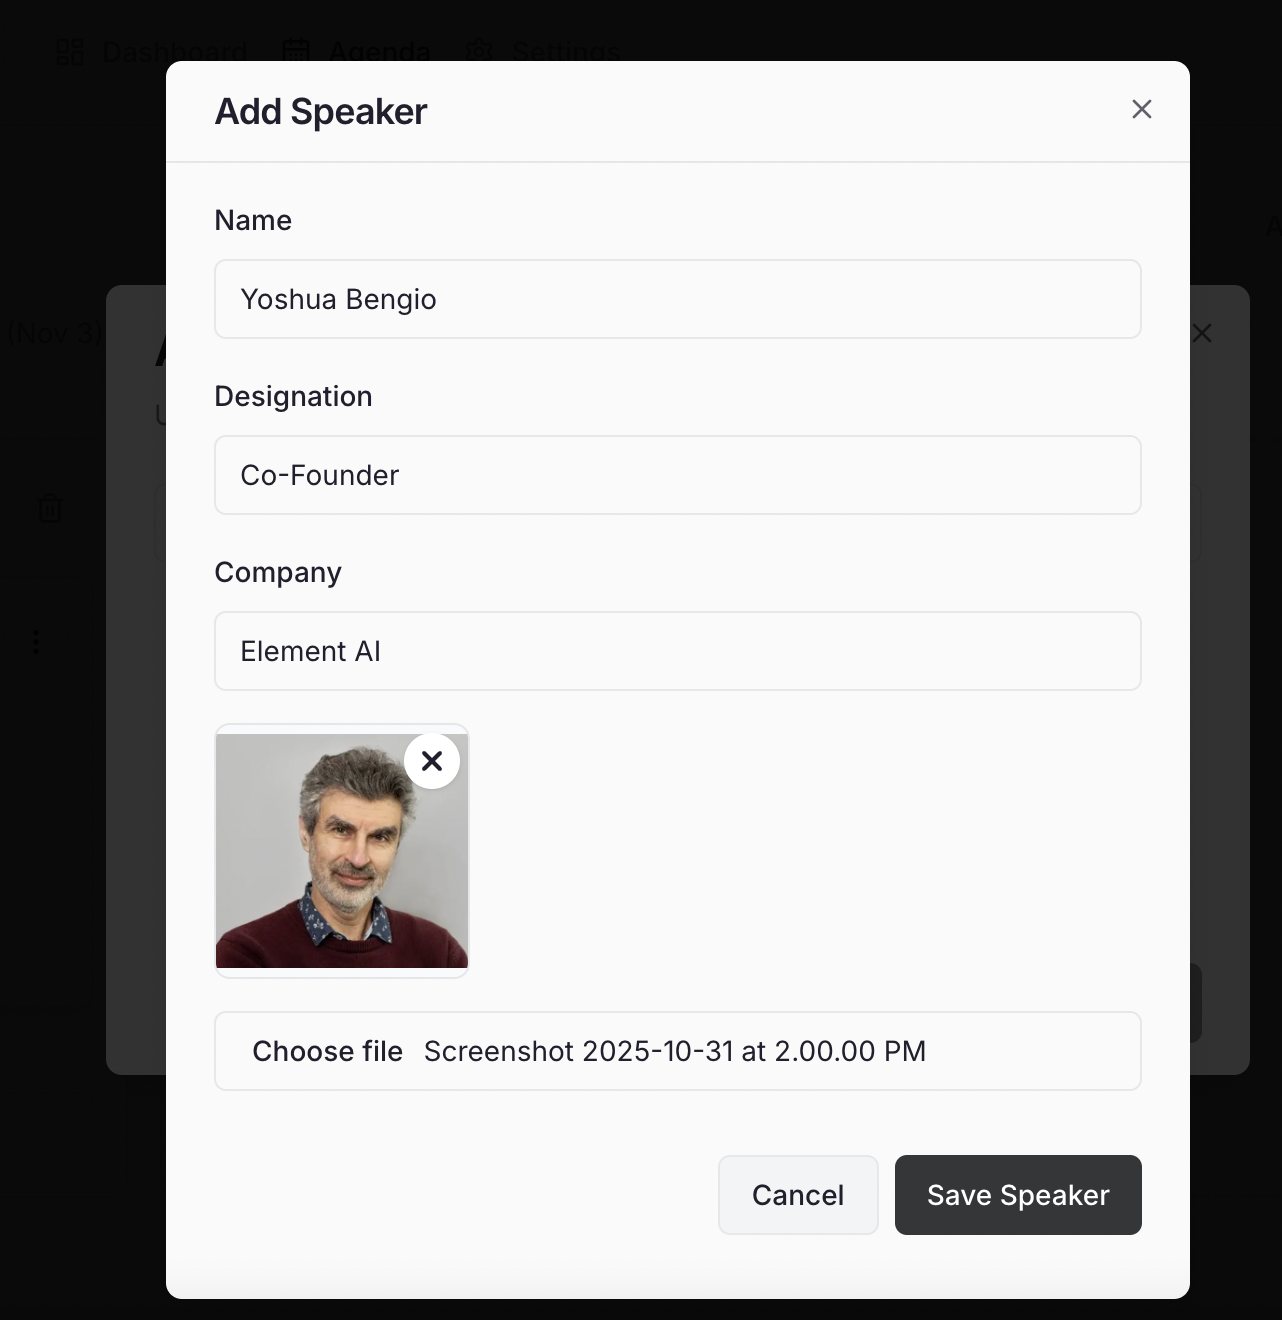
After creating sessions, you can assign speakers to them. Click on the “Add Speaker” button on the session card.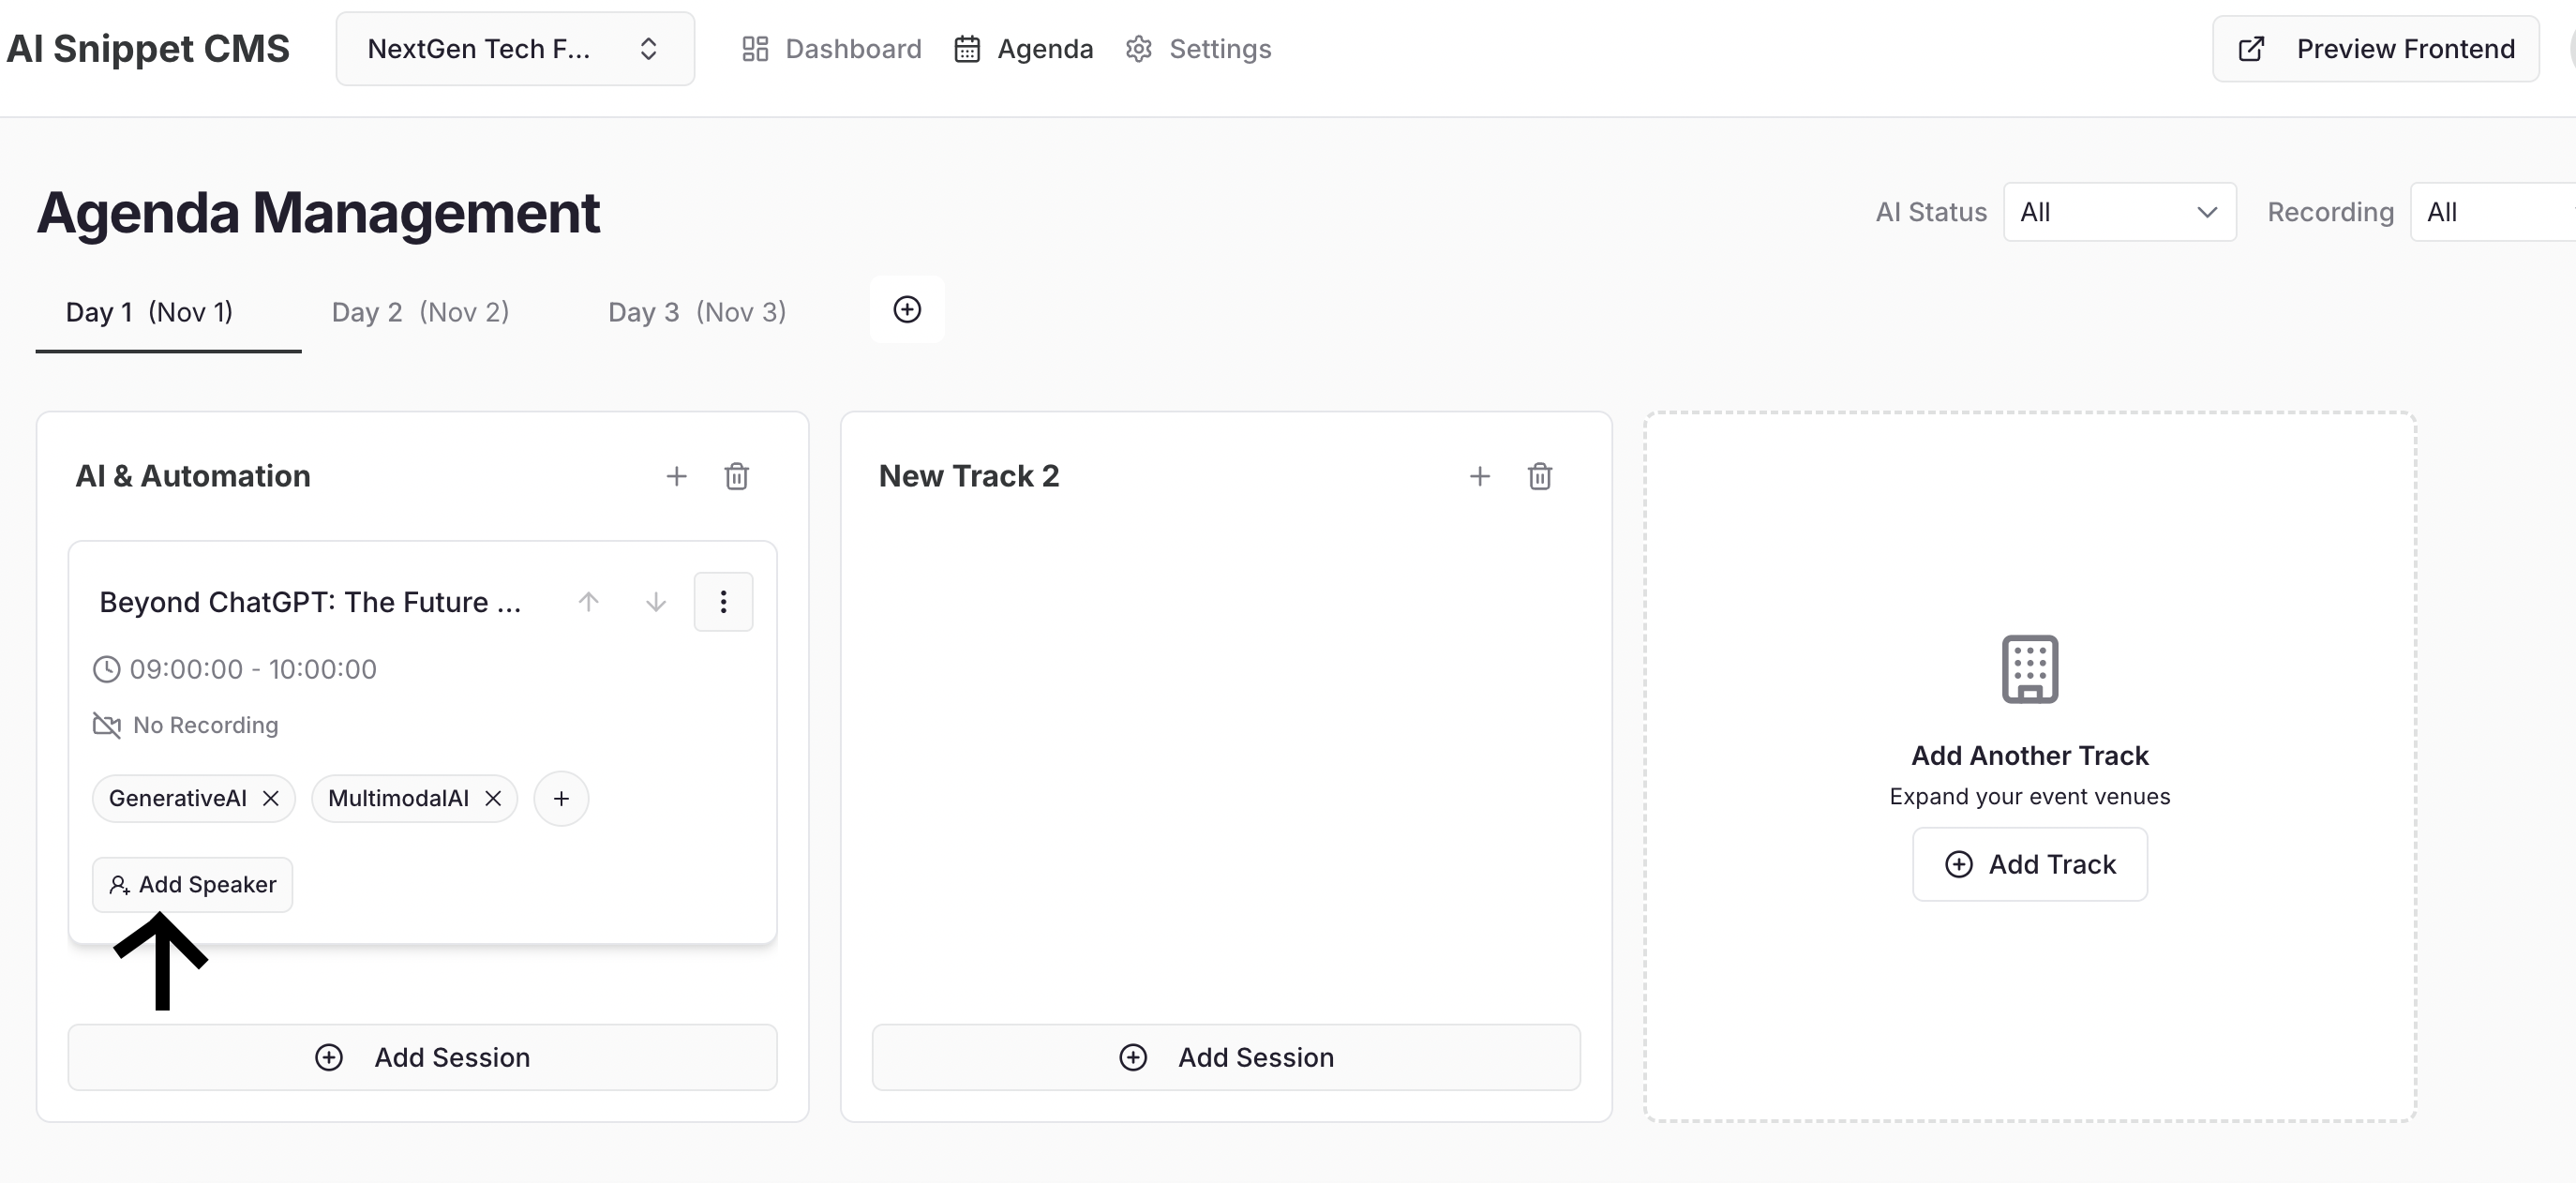
- Speaker Name
- Designation / Company
- Short Bio (optional)
- Profile Picture (optional)

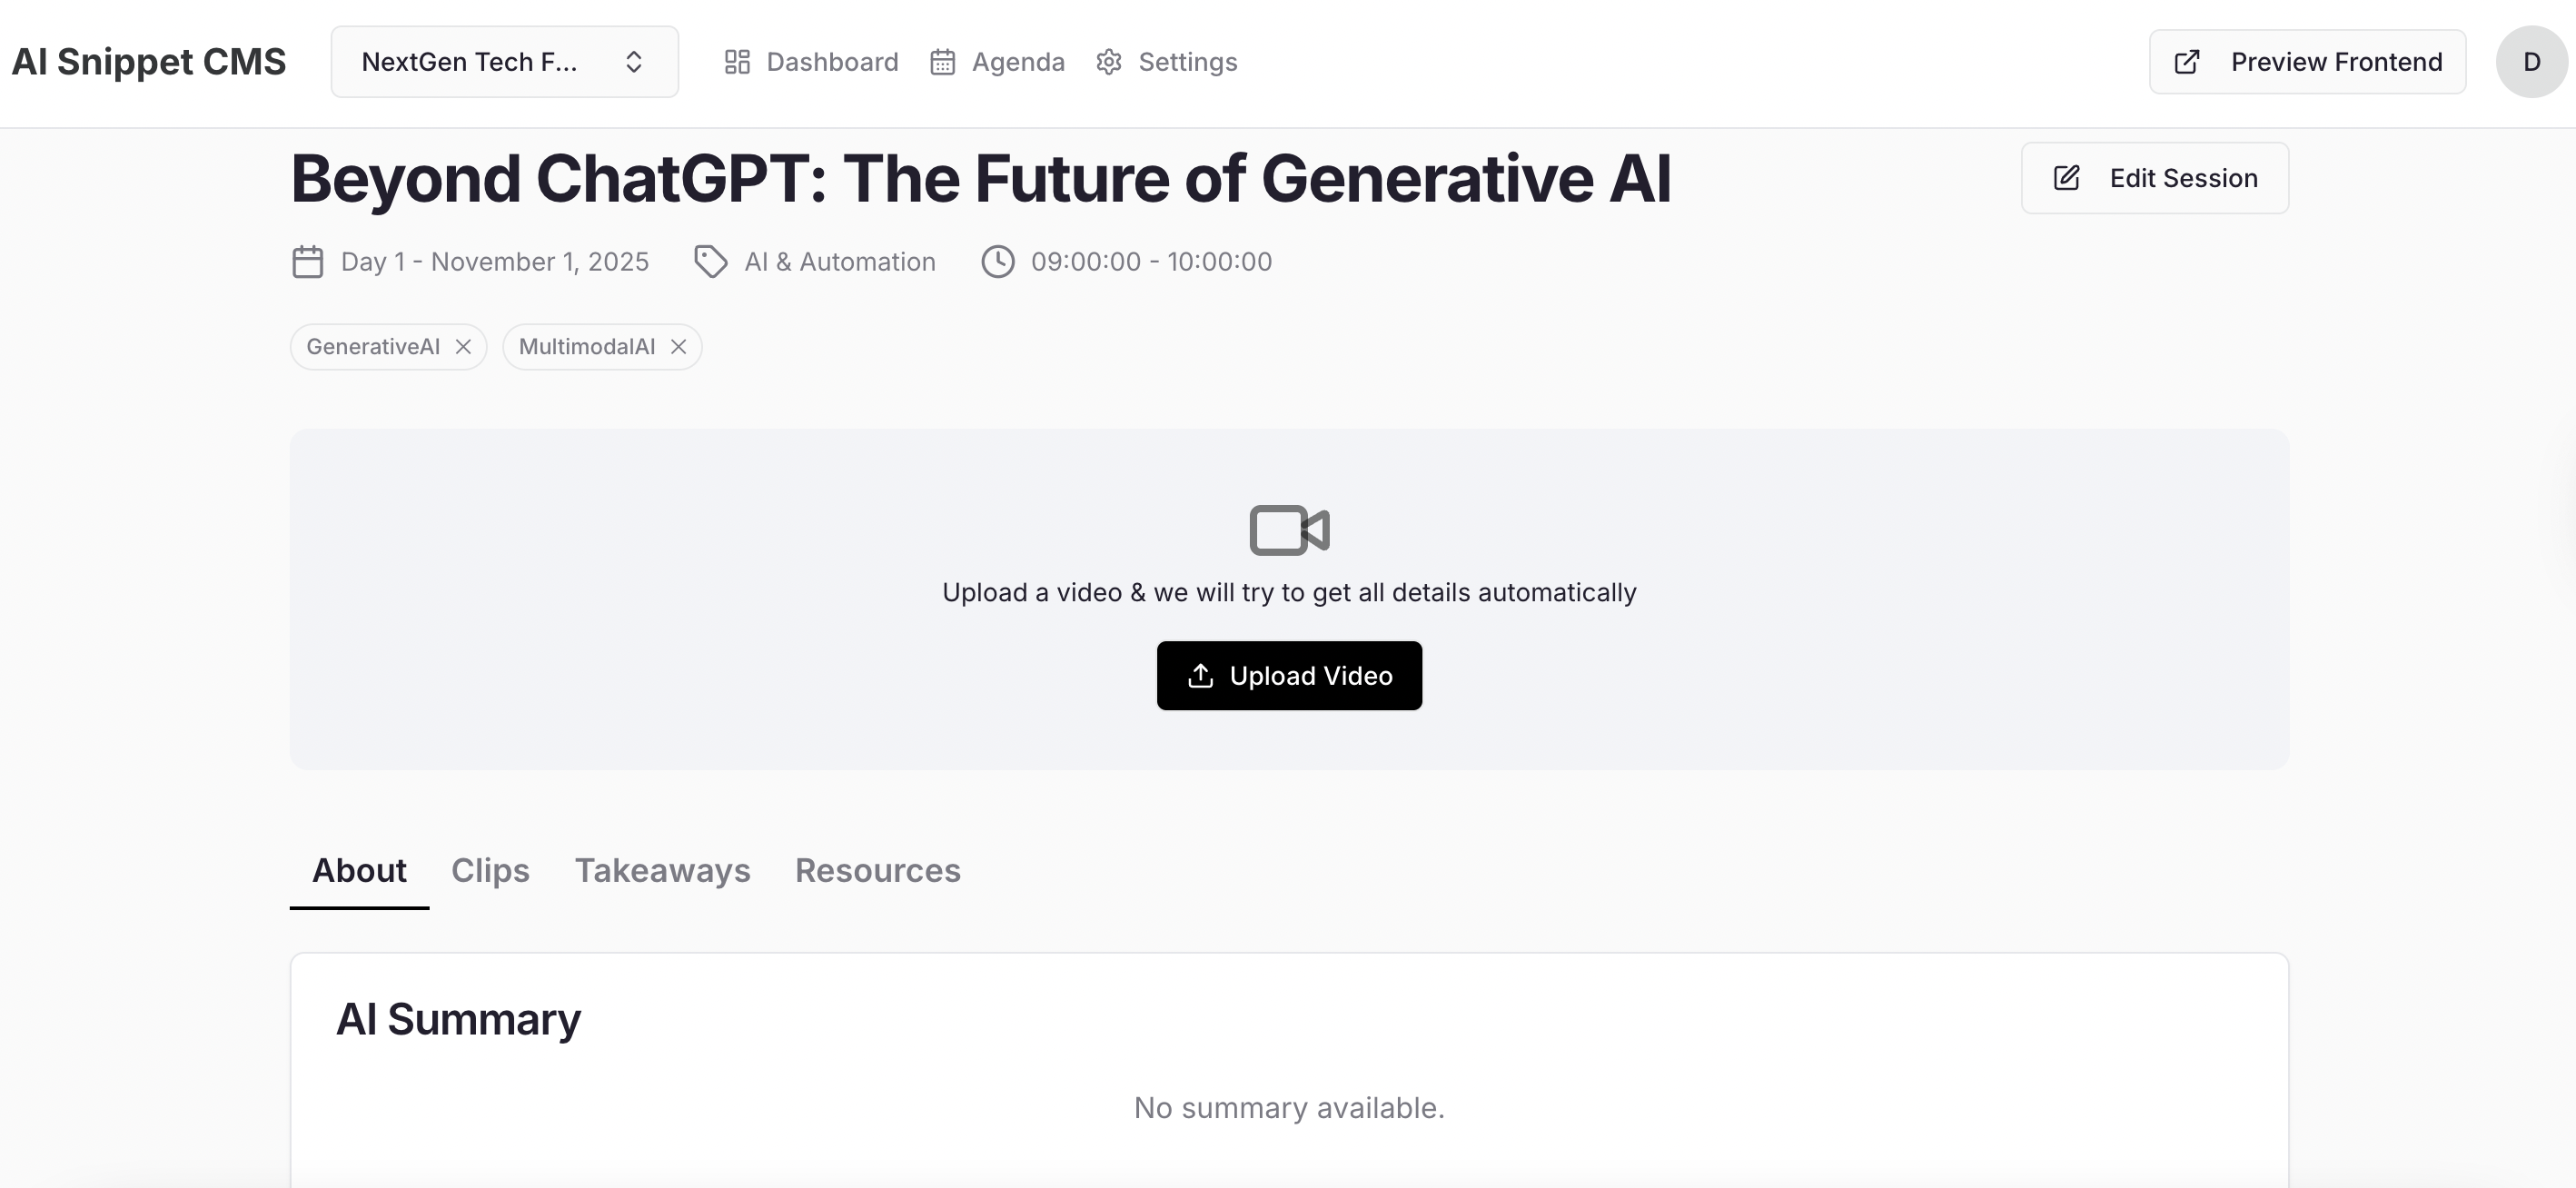
6: Upload Your Content
Now you’re ready to upload your session video — the core content Snippet AI will process. Click on a Session Card → go to the Session Detail Page → click “Upload Video.” Drag & drop your video file or browse to upload.Upload Guidelines
| Category | Supported Formats | Notes |
|---|---|---|
| Video | .mp4, .mpeg | Max Size: 2GB Duration: 20 mins – 2 hours |
| Resources (Optional) | .pdf, .doc, .xls, .ppt, .odt, .ods, .odp, .jpg, .png | Non-executable files only |
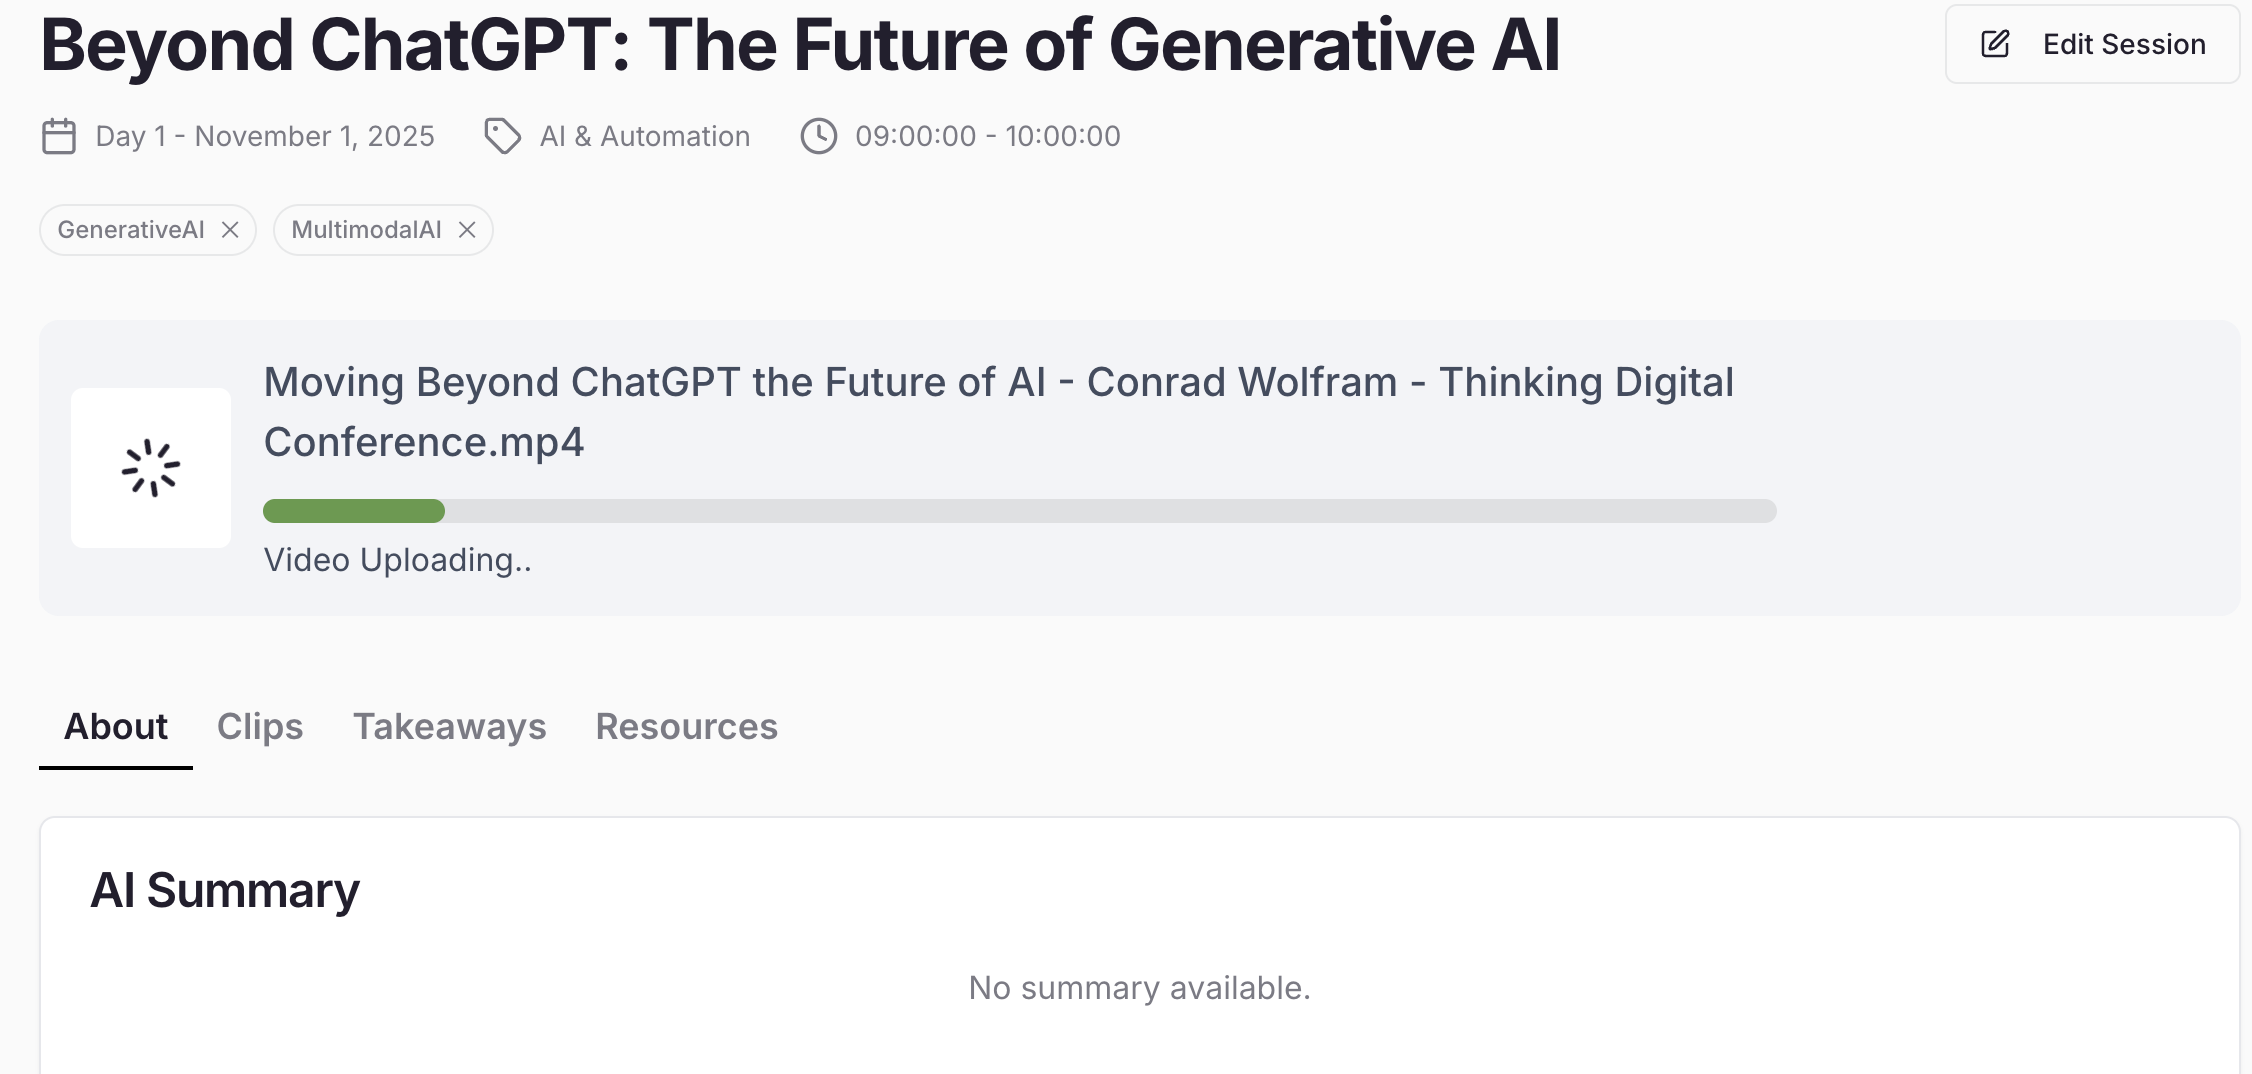
7: What Happens After Upload
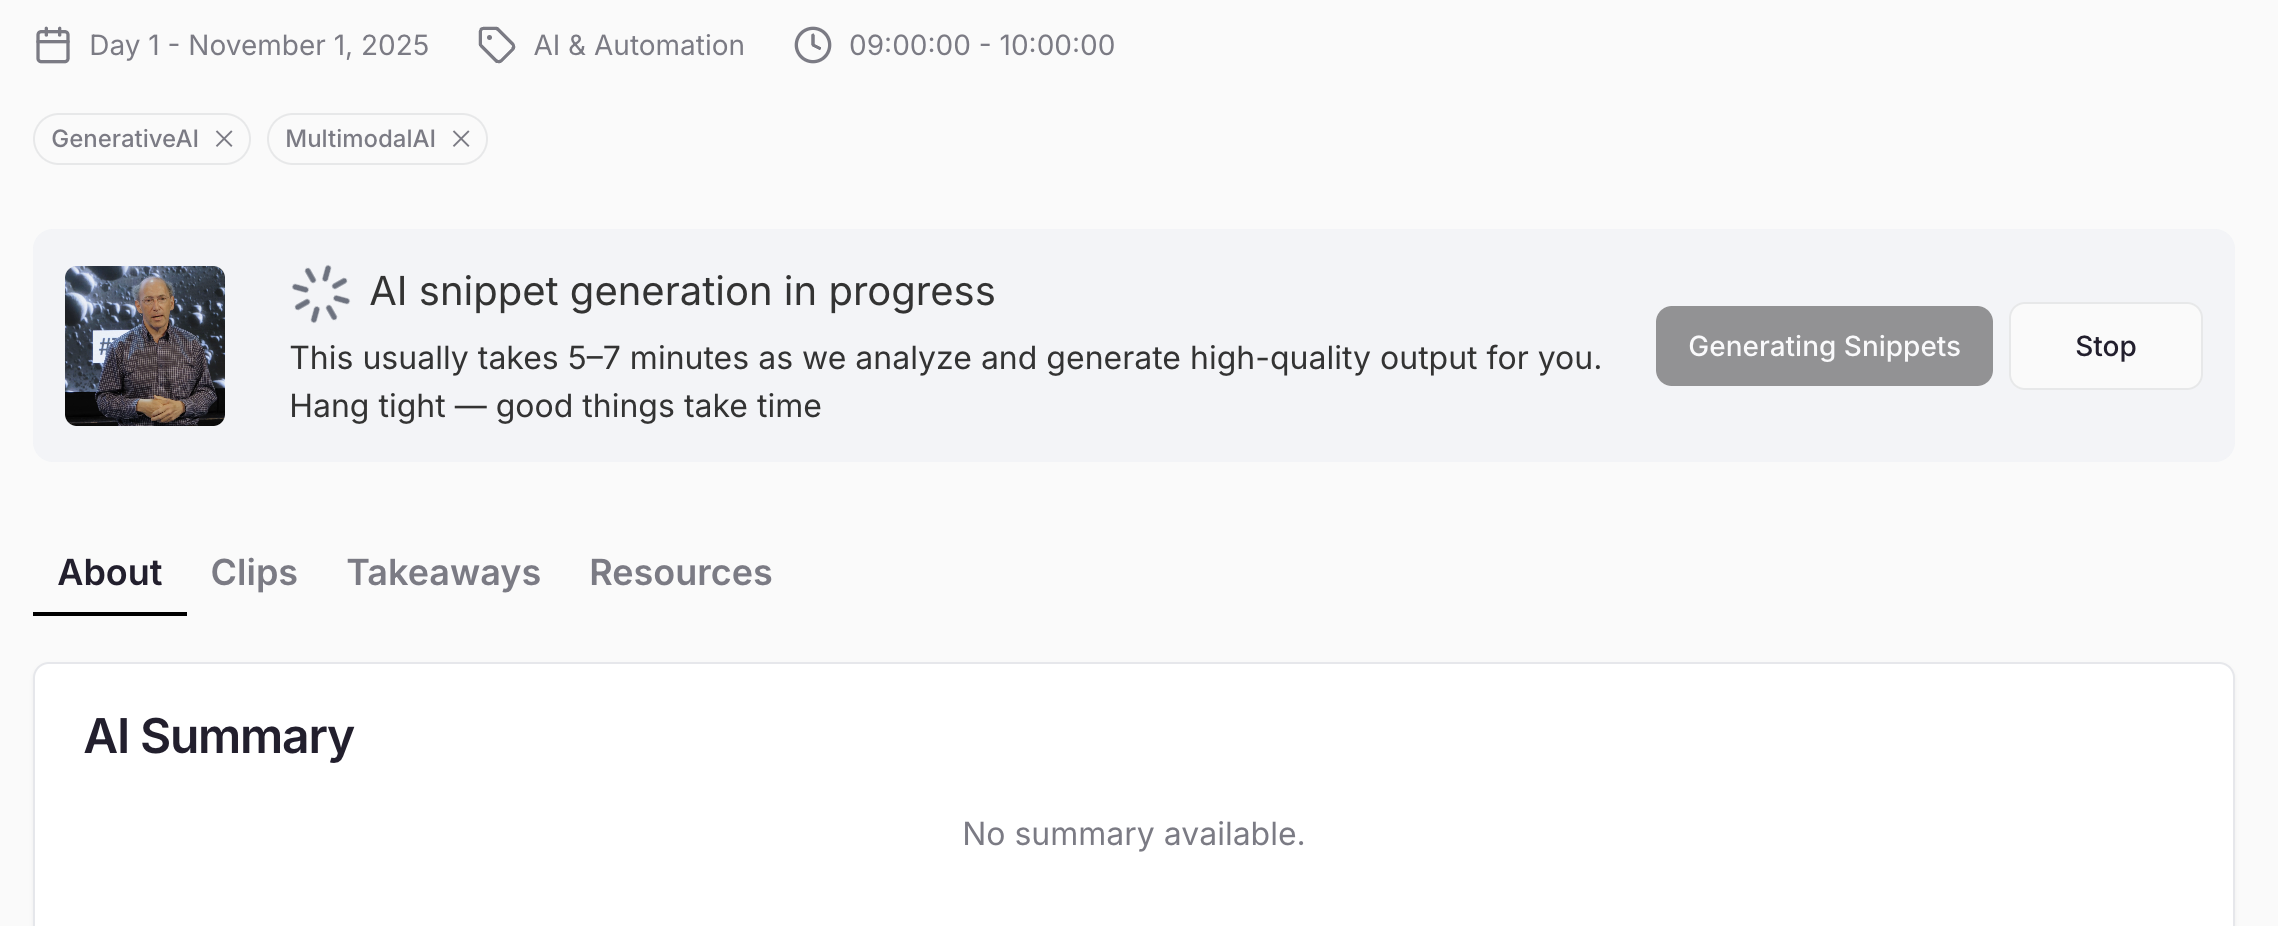
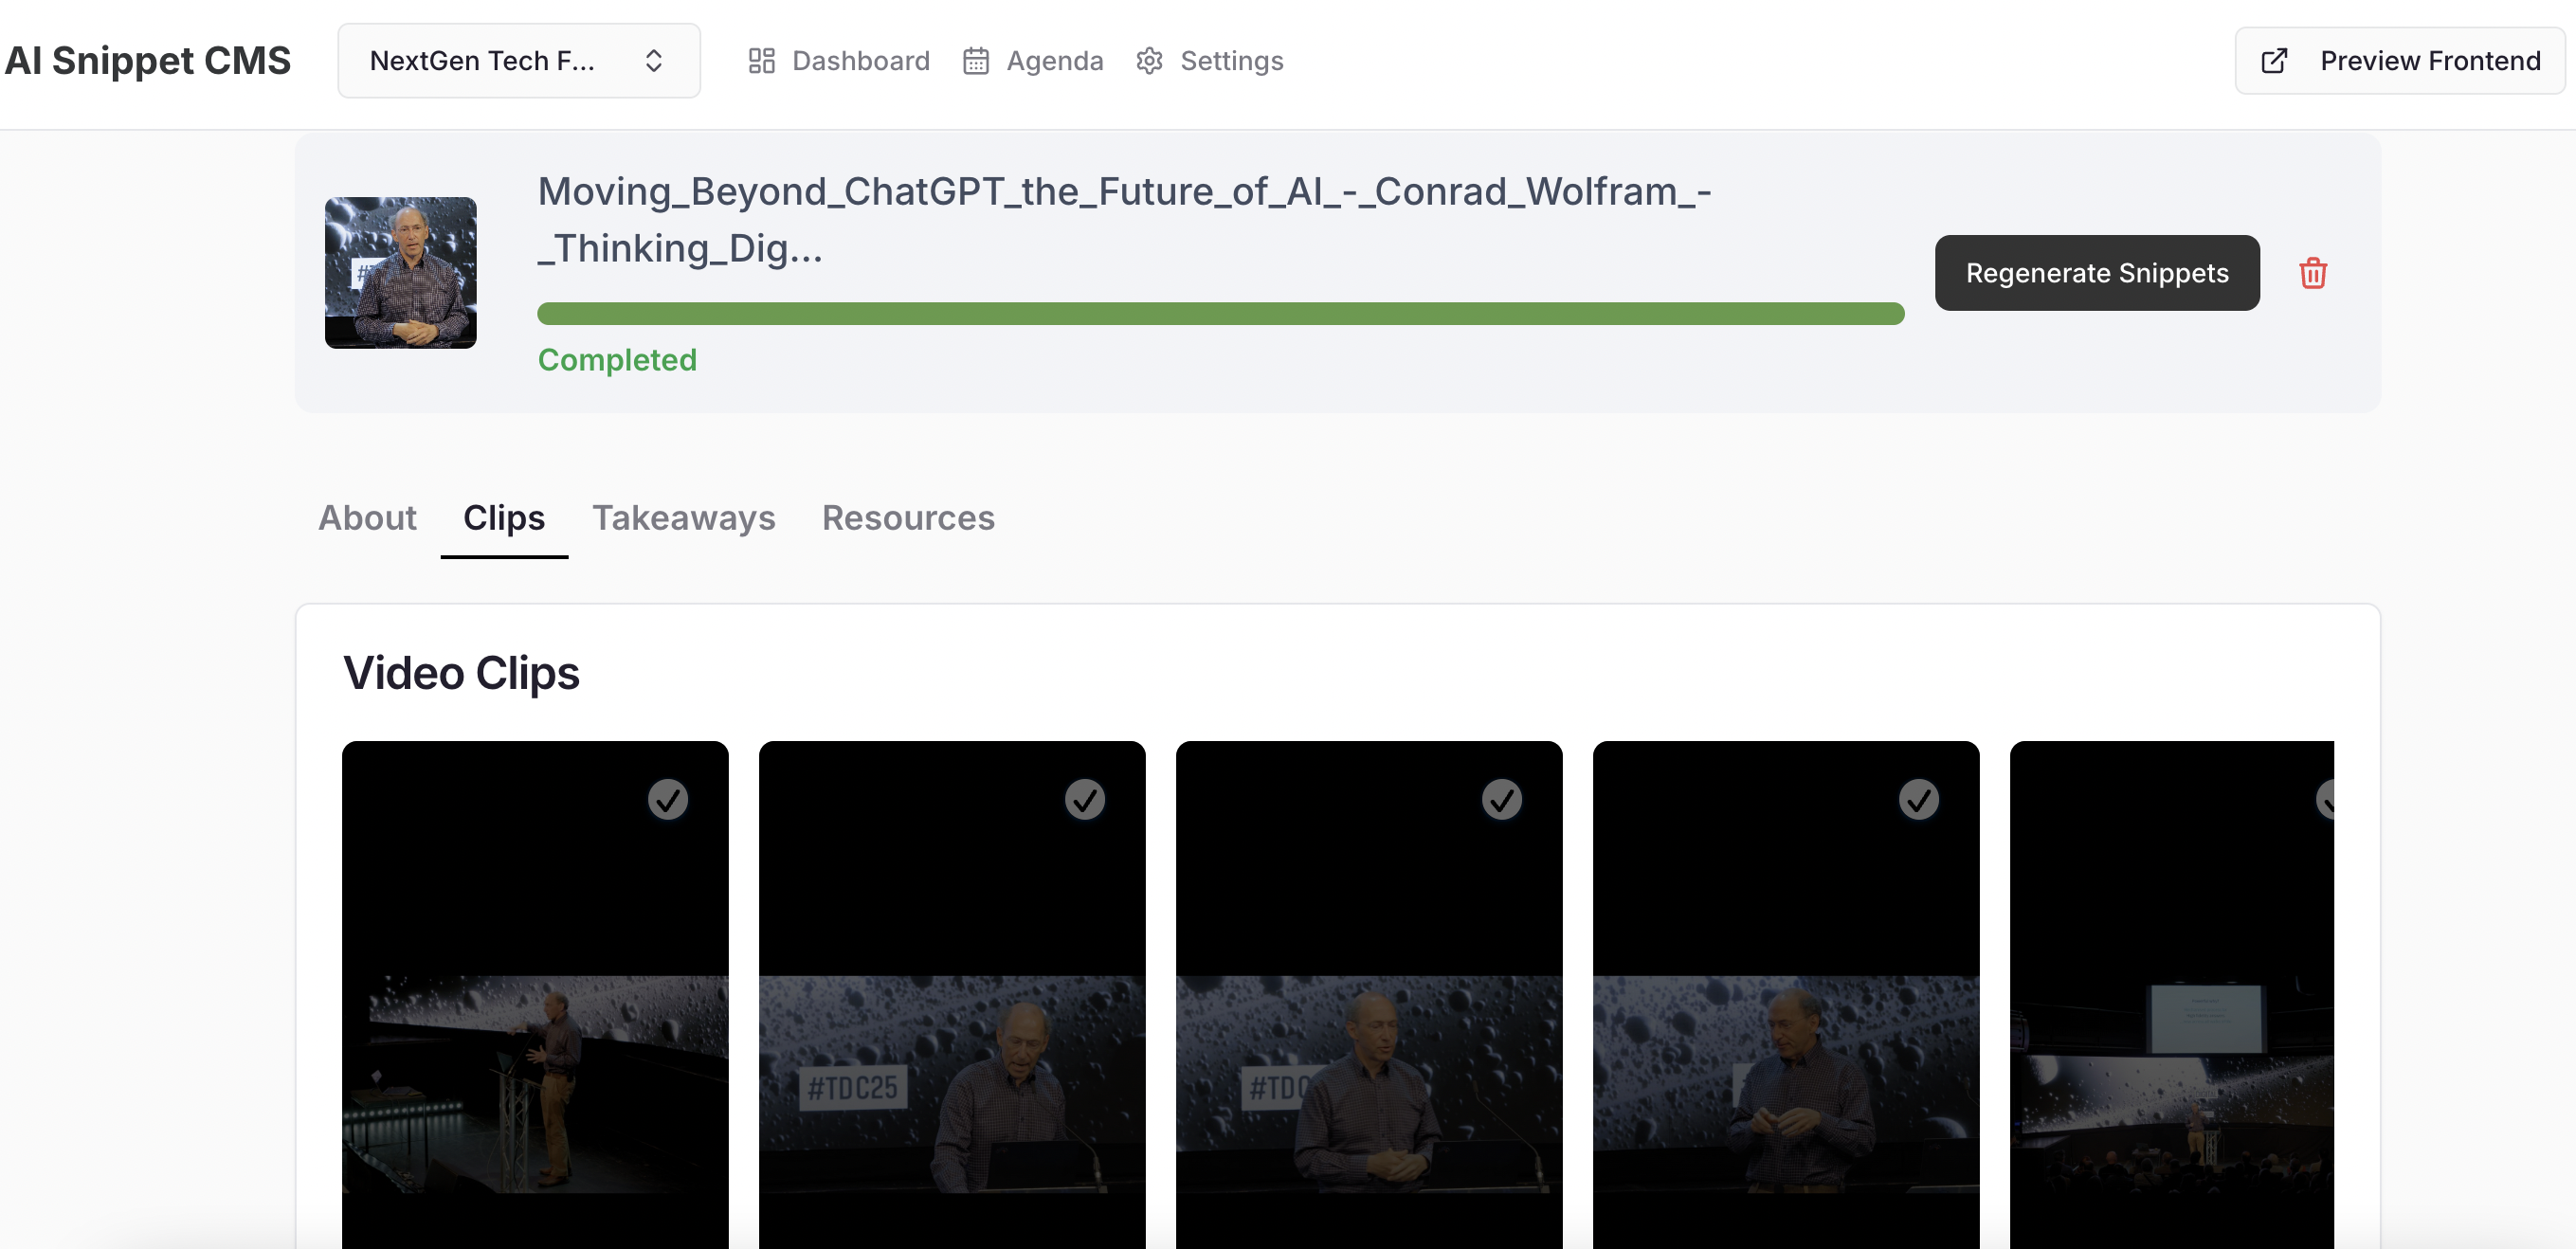
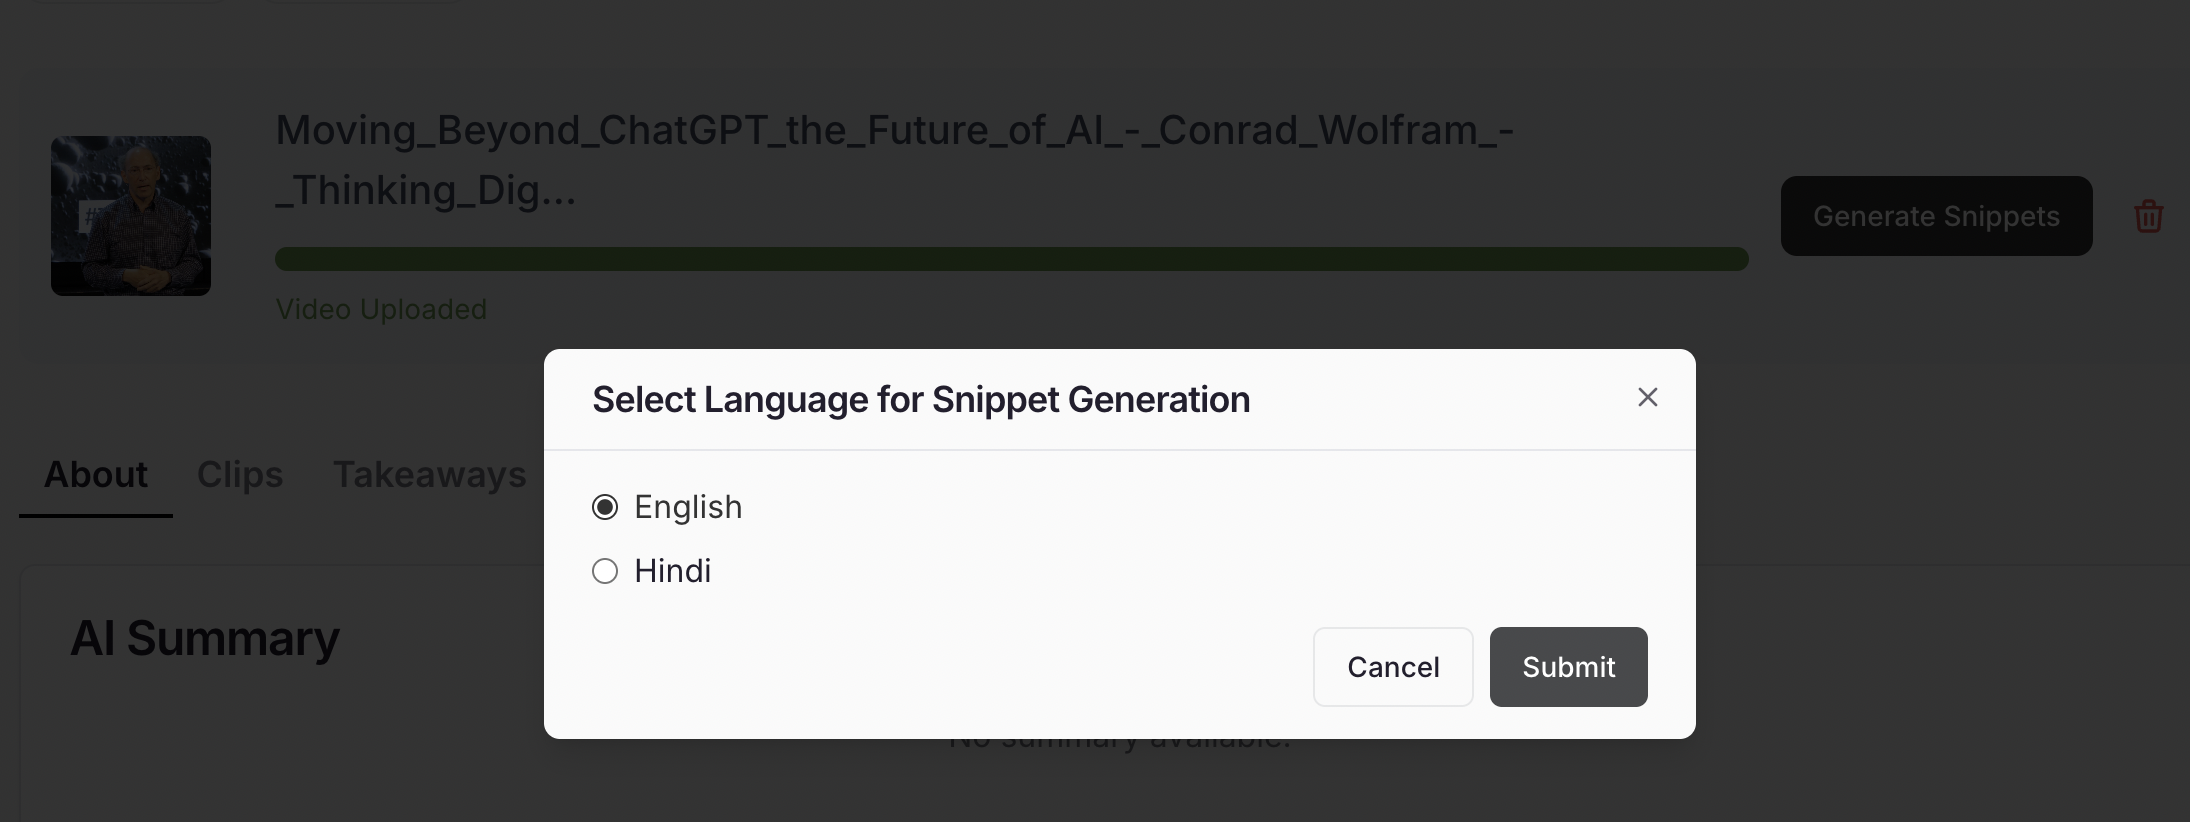
Once the upload is complete, click “Generate Snippet.” Sit back and relax for a few minutes — Snippet AI will automatically process your video and produce micro content. In a few minutes, you’ll have:- 🧾 AI-Generated Summary – Quick readable overview.
- 🎞️ Snippets (Short Clips) – Engaging highlight moments.
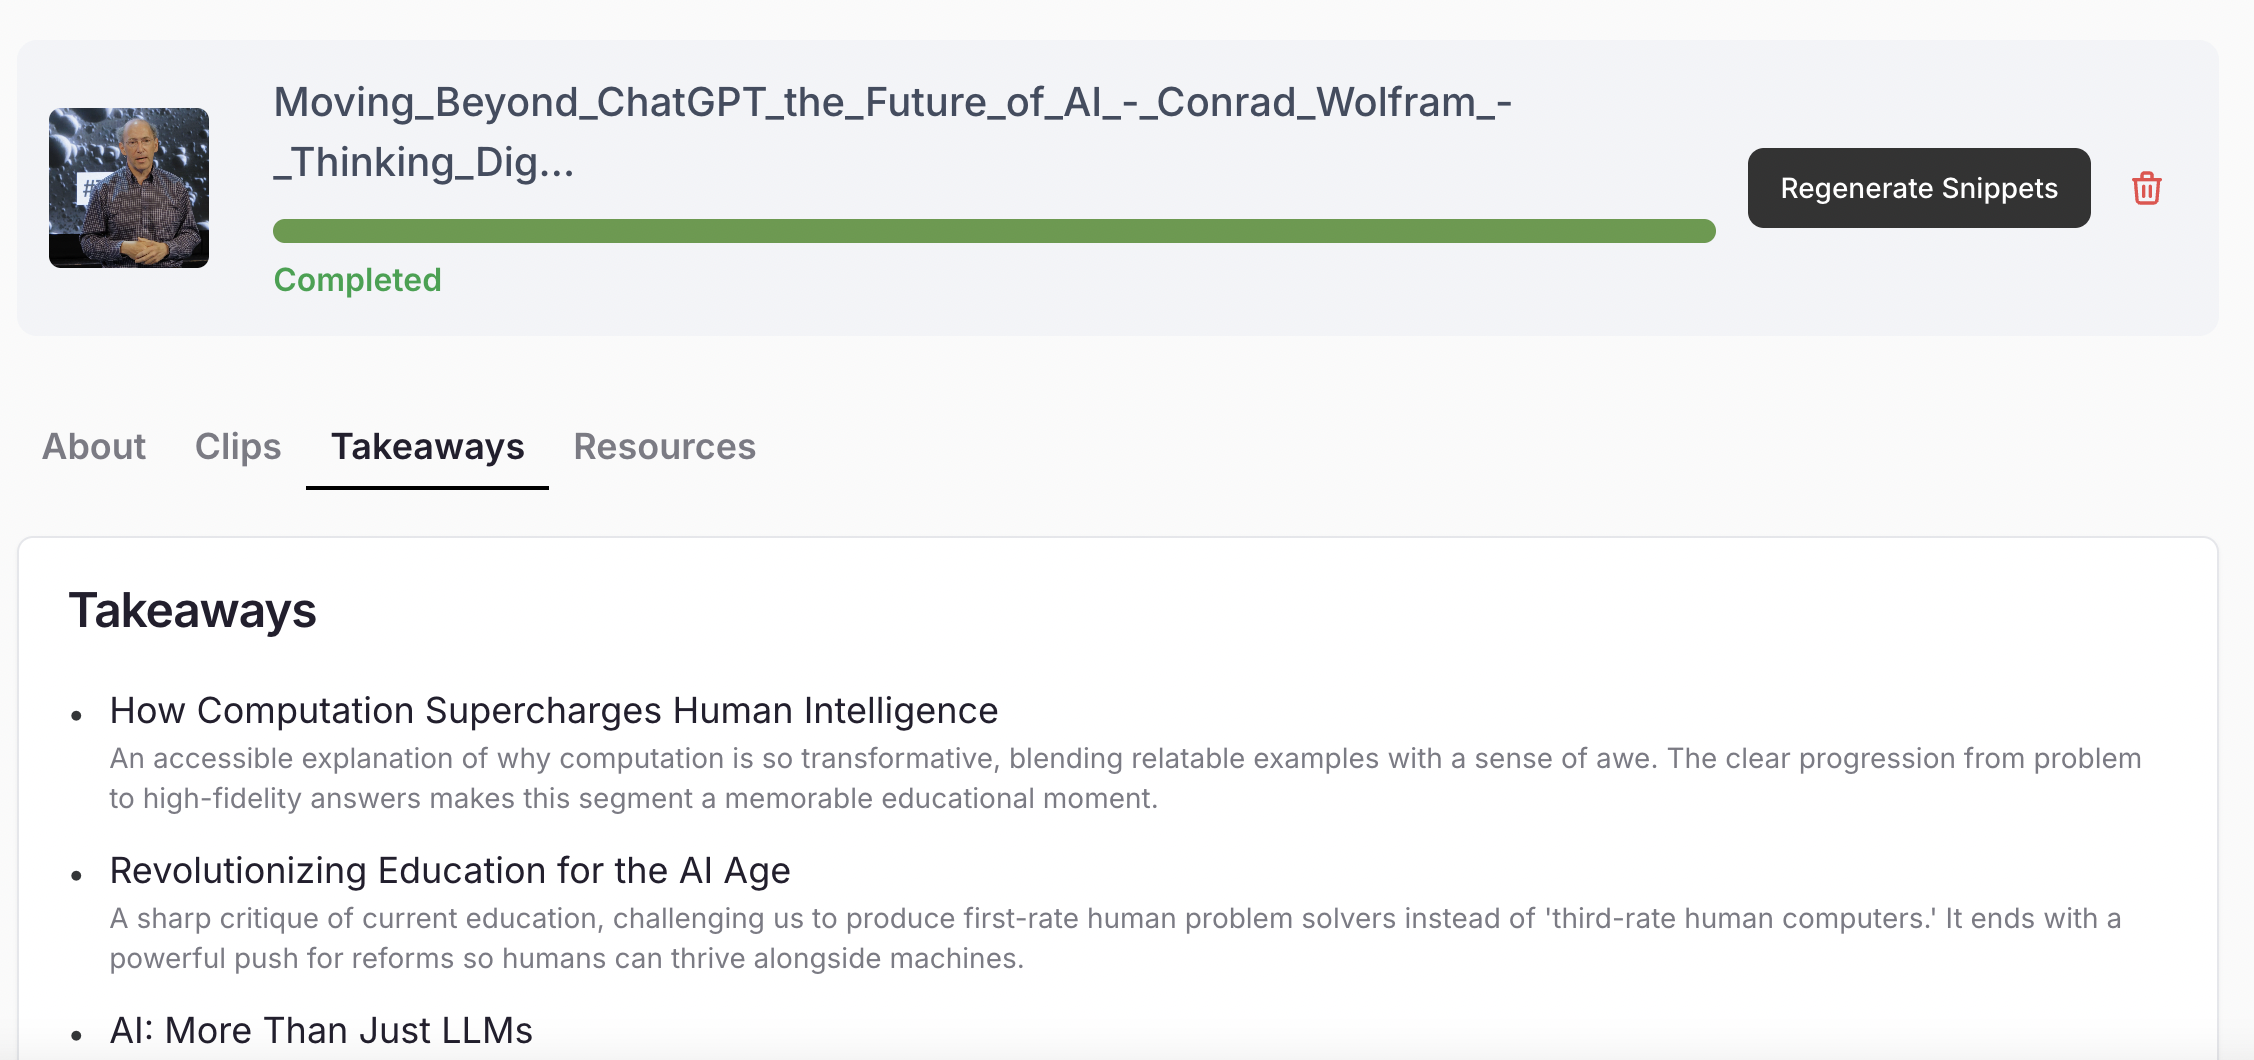
- 🔑 Key Takeaways – Core insights in bullet form.
- 🖼️ Visuals & Thumbnails – Auto-selected impactful stills for galleries and sliders.